Episode 5: Girlish Body Restoration ★ Lucky Revo!! |
Lucky Lucky Memorial Routes |
|
As you progress further into the game, opportunities to unlock additional routes
for Episode 1, Lucky Lucky Memorial, open up. Episode 5 offers the final route to unlock.
- Kagami Lucky Lucky Memorial Route -- Get the Kagami good ending to Girlish Body Restoration ★ Lucky Revo!!
More details on how to unlock this route will be described further down.
|
|
This Episode has four mini scenarios you can unlock with the following unlock criteria:
- Soujirou Mini Scenario -- View a certain optional scene in Girlish Body Restoration ★ Lucky Revo!!
- Nanako Mini Scenario -- Get the Nanako good ending to Girlish Body Restoration ★ Lucky Revo!!
- Kagami Mini Scenario -- Get the good ending to Kagami's Lucky Lucky Memorial Route
- Konata Mini Scenario -- Complete the Kagami Mini Scenario
How to get these good endings, as well as which scene you have to view, will be described further down.
|
Route Guide -- Episode 0 (Episode 5 Version) |
|
NOTE: As with the previous guides for Episode 0, if a choice that's present in this Episode is not
mentioned here, it's either because it has no impact on anything, or because the same choice
appeared in previous episode(s), and so has the same impact on things like character favorability
that it did in those previous episode(s).
|
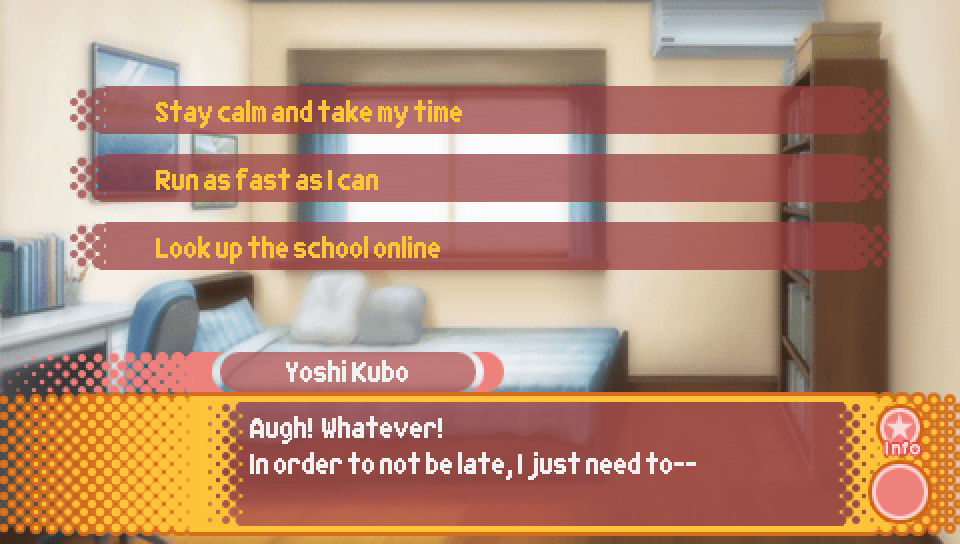
- Stay calm and take my time -- Konata favorability + 4, + ¥2000
- Run as fast as I can -- Miyuki favorability + 4
- Look up the school online -- Kagami favorability + 4, Tsukasa favorability + 4
This choice also influences who the protagonist runs into on the way to school,
as well as who greets the protagonist after his self introduction.
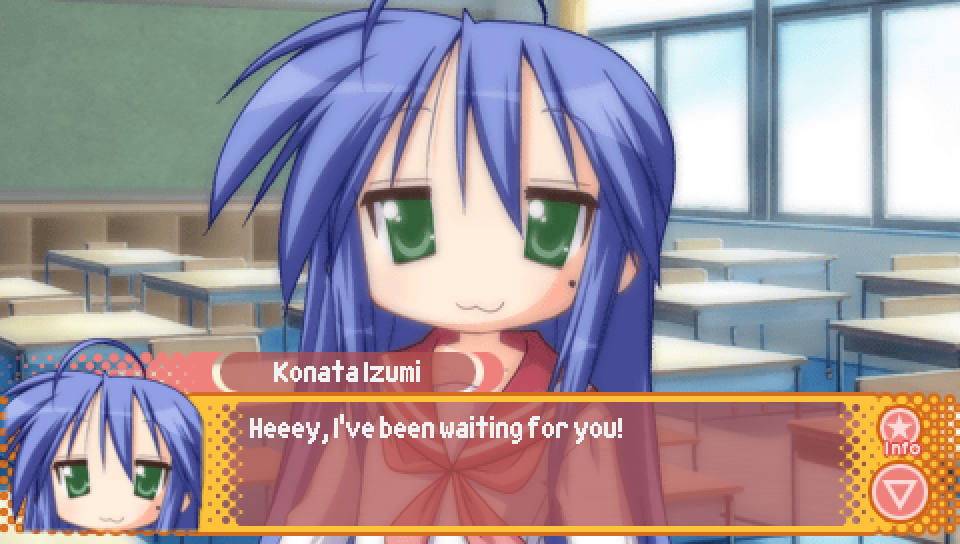
This will be Konata if you picked "Stay calm and take my time".
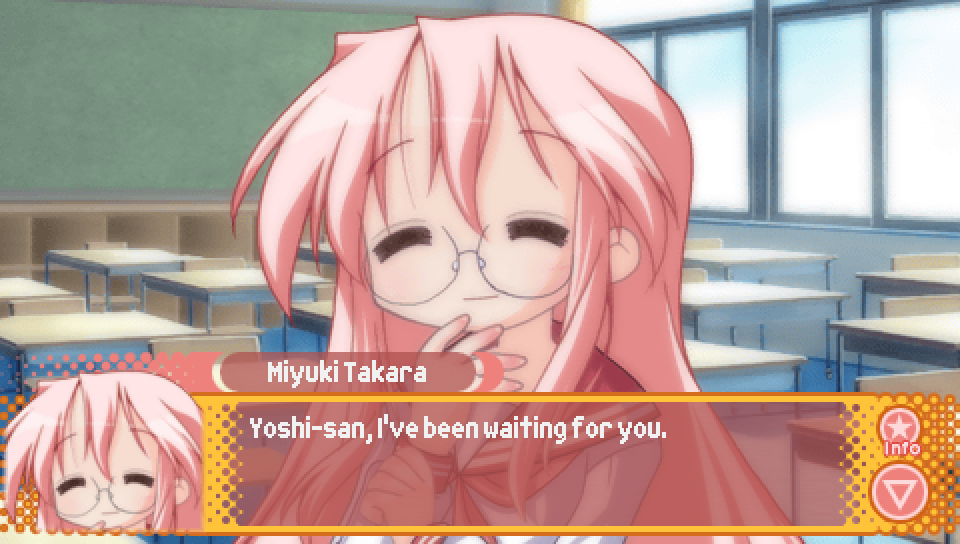
This will be Miyuki if you picked "Run as fast as I can".
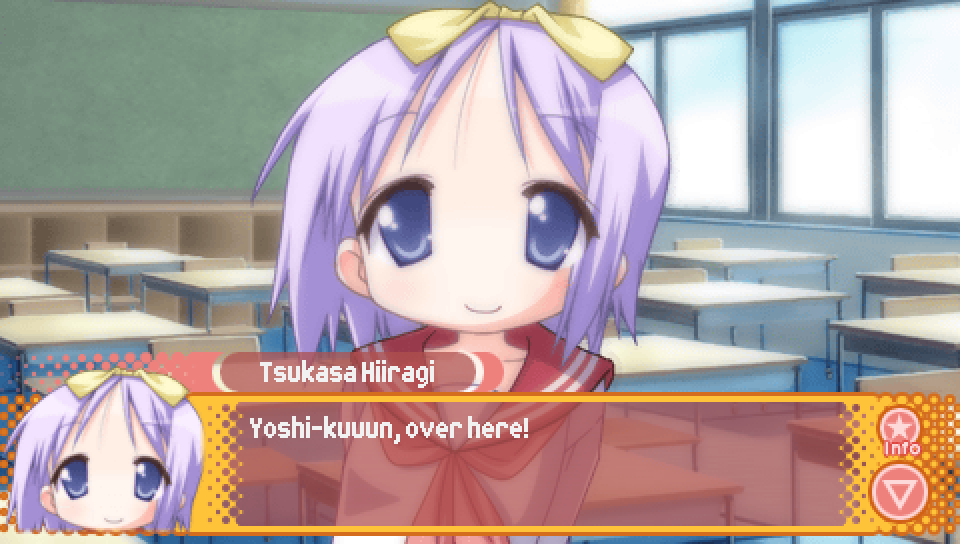
This will be Tsukasa if you picked "Look up the school online".
|
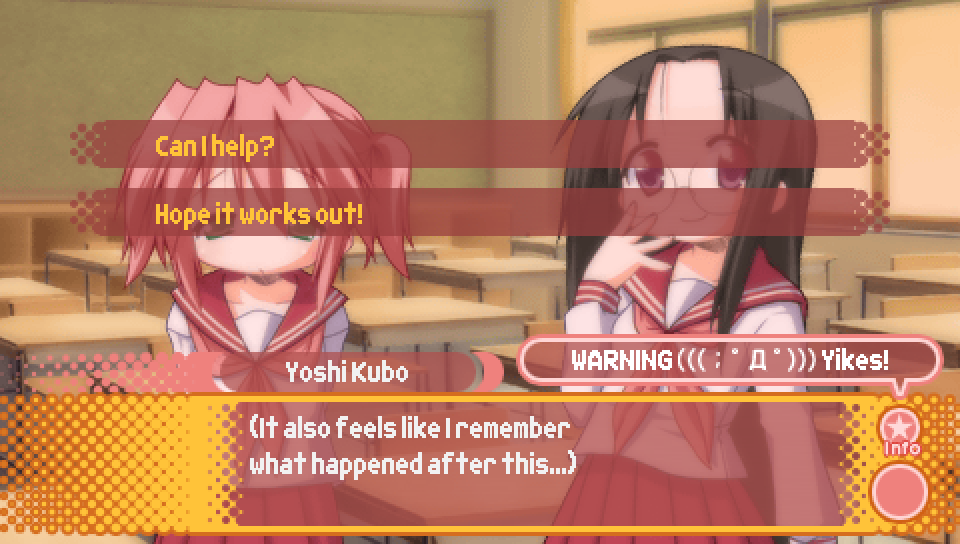
- Can I help? -- replay Episode 3
- Hope it works out! -- continue with Episode 0
|
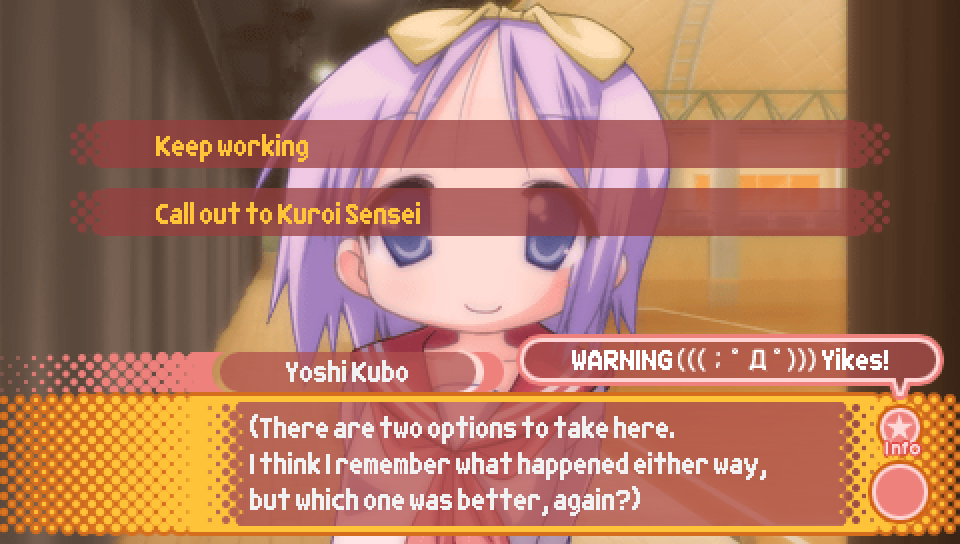
- Keep working -- replay Episode 1
- Call out to Kuroi Sensei -- continue with Episode 0
|
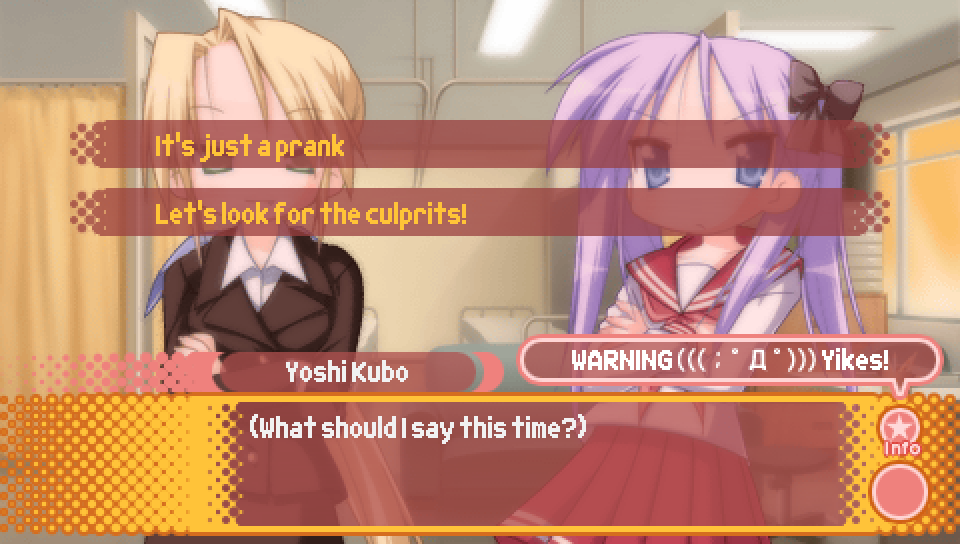
- It's just a prank -- continue with Episode 0
- Let's look for the culprits! -- replay Episode 2
|
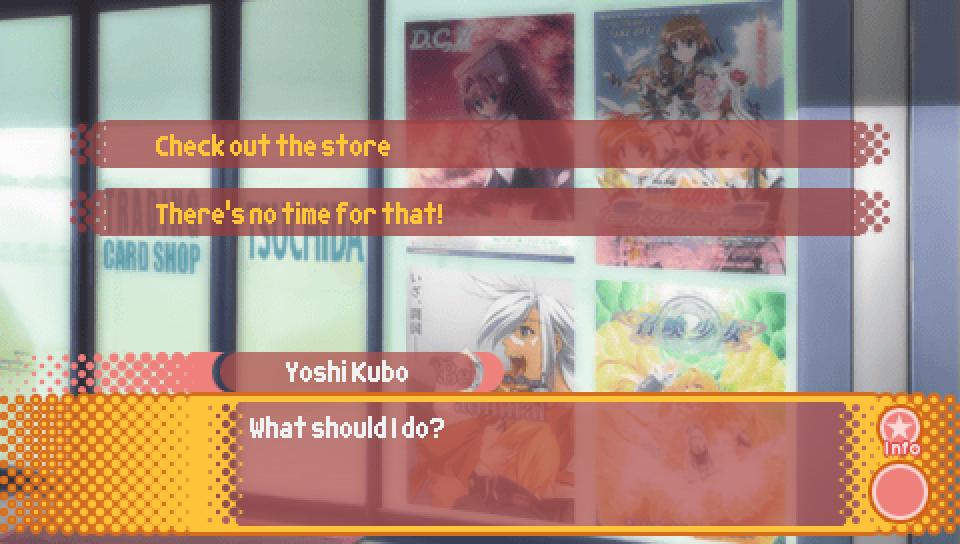
- Check out the store -- buy trading cards with the Episode 0 distribution
- There's no time for that! -- don't buy trading cards
As a reminder, the trading card distribution for Episode 0
is that each of the 40 trading cards have a 2.5% chance of appearing (see the Episode 2 guide for more details).
|
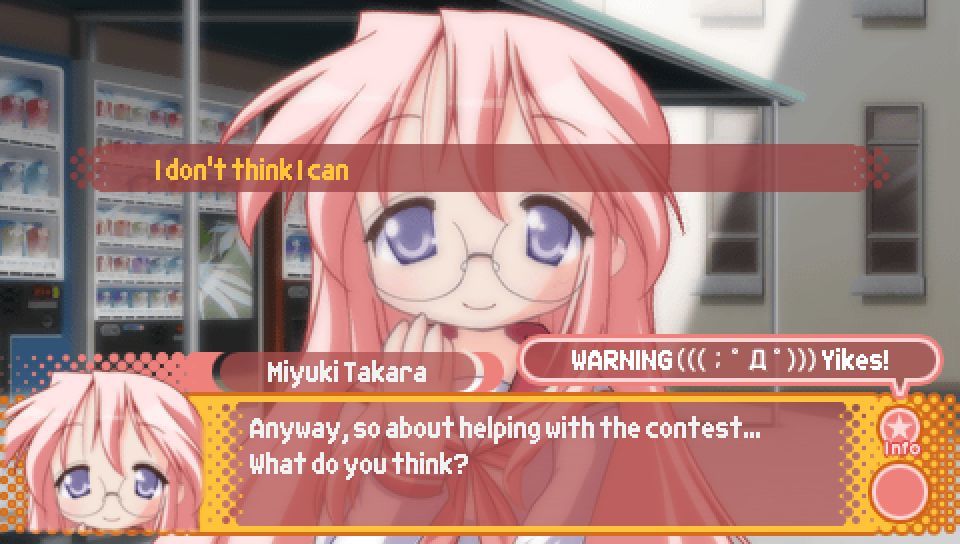
This choice marks the place where you can set the flag to enter Episode 5 proper,
or continue along Episode 0. However, even if you set the flag, you won't actually enter Episode 5
until a few scenes later.
- Sure -- set the flag to enter Episode 5
- I don't think I can -- no effect
|
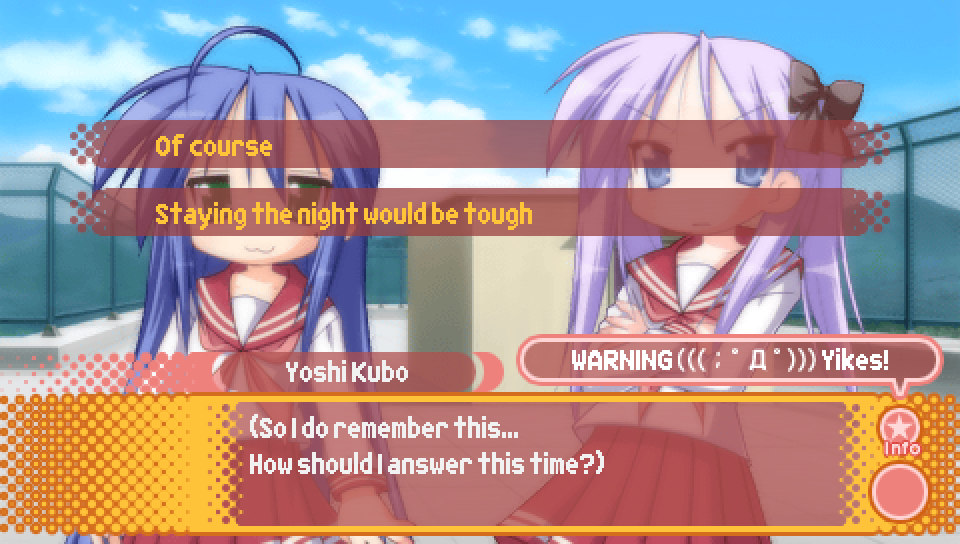
- Of course -- stay later after school
- Staying the night would be tough -- don't stay as late after school
Just like how it was in the Episode 4 version of Episode 0, the choice to enter Episode 4
proper only appears if you choose "Of course" to get the version of the following scene where
Kagami suggests going to the convenience store for a snack break.
|
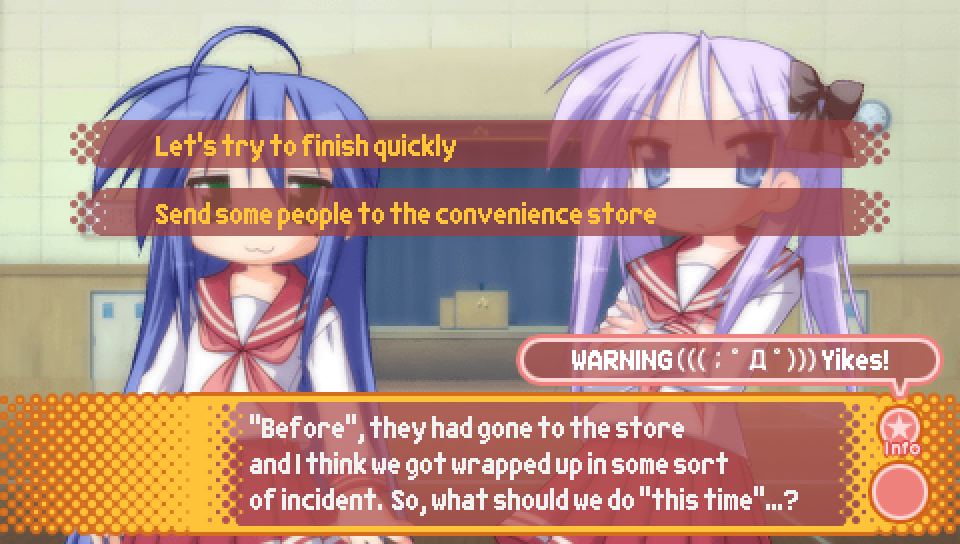
- Let's try to finish quickly -- continue with Episode 0
- Send some people to the convenience store -- replay Episode 4
Note that you will only get this choice if you picked "Of course" for the previous choice.
Additionally, even if you set the flag to enter Episode 5, picking "Send some people to the convenience store"
will override that flag and take you to Episode 4 anyway.
|

- There's no way! -- no effect
- Leave it to me! -- Miyuki favorability + 3
- ...I'm wearing one too? -- no effect
Note that you will only get this choice if you set the flag to enter Episode 5.
Additionally, you are still in an Episode 0 state at this point, so the Miyuki favorability
gained here from picking "Leave it to me!" will not apply to Episode 5. In fact, the favorability
gained here cannot impact anything and so ends up serving no purpose.
|
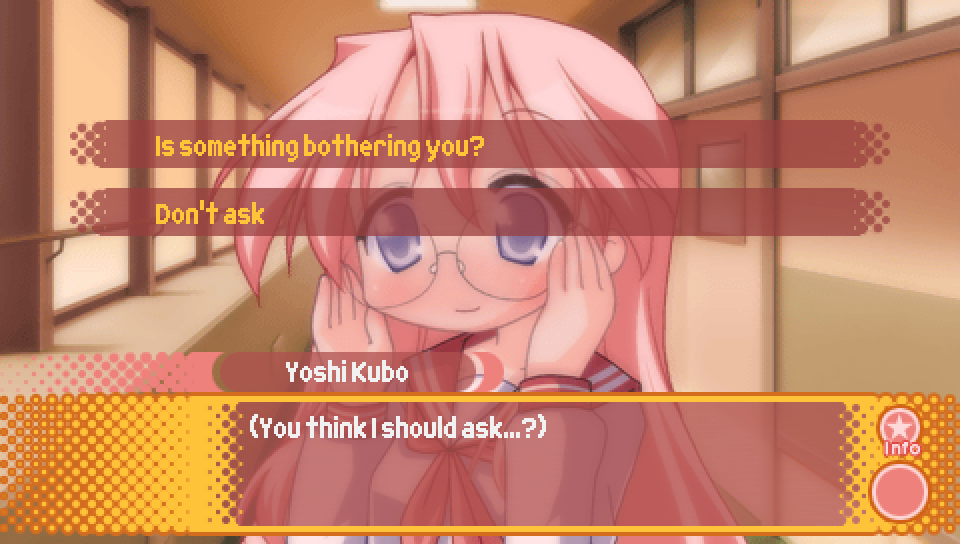
- Is something bothering you? -- no effect
- Don't ask -- no effect
Note that you will only get this choice if you set the flag to enter Episode 5.
Additionally, this choice is still part of Episode 0.
|

The Unlucky★Sisters segment you get when the protagonist falls asleep during class when Nanako is lecturing
on the Thirty Years War differs depending on whether or not the flag to enter Episode 5 is set.
If the flag isn't set, the segment you get is called "Diet ★ Study" and is only viewable at this point in the game.
Once you have gotten the good ending for Episode 5 at least once, this segment will no longer be viewable
on your current save file, so make sure you don't miss it!
If the flag to enter Episode 5 is set, you'll get a different segment called "The Great Diet Plan!".

After this segment is over, the rest of Episode 0 plays out the same as in previous Episodes' versions
if the Episode 5 flag wasn't set.
|
Route Guide -- Girlish Body Restoration ★ Lucky Revo!! |
|
Like seen in Episode 4, this episode uses both clear points and the character favorability system.
However, unlike Episode 4, in which character favorability only had a slight impact on the ending,
in this episode it influences which good ending you get, similar to how Episode 2 works.
This guide will tell you which choices give favorability and to whom, as well as which choices
give you clear points.
|
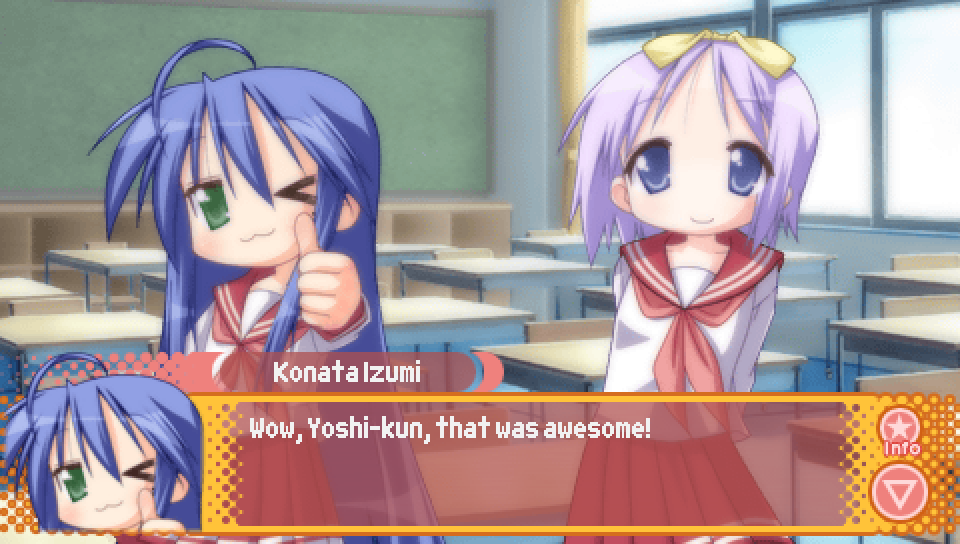
Once you reach this line, you are officially out of Episode 0 and in Episode 5 proper.
All favorabilities get reset to zero, so all previous choices no longer have any impact on what happens next.
|
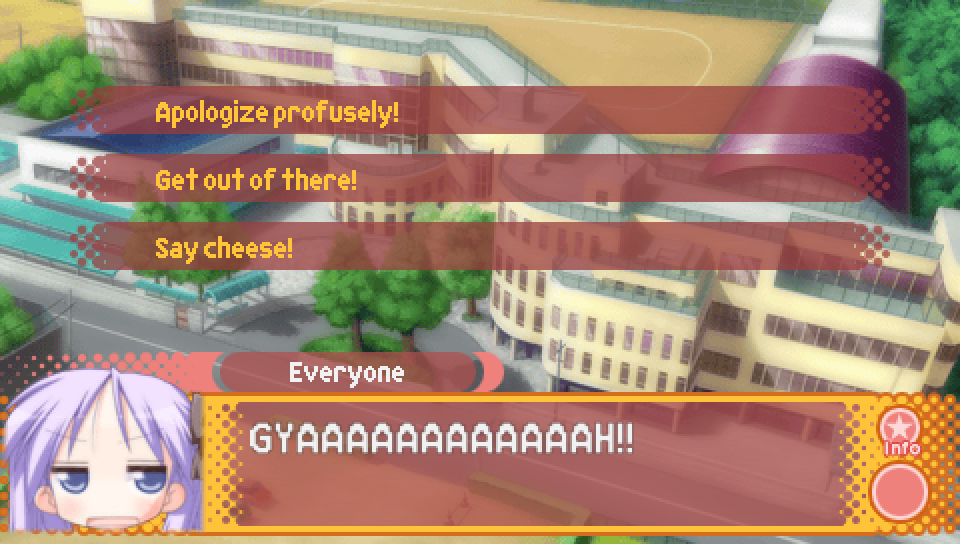
- Apologize profusely! -- Miyuki favorability + 2
- Get out of there! -- Kagami favorability + 2
- Say cheese! -- Nanako favorability + 2
|
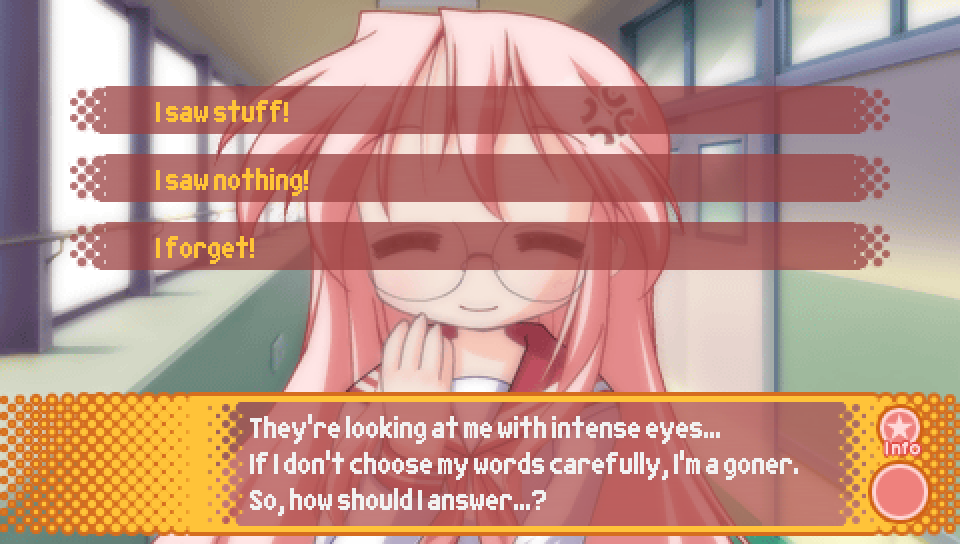
- I saw stuff! -- Kagami favorability + 2
- I saw nothing! -- Miyuki favorability + 2
- I forget! -- Nanako favorability + 2
|
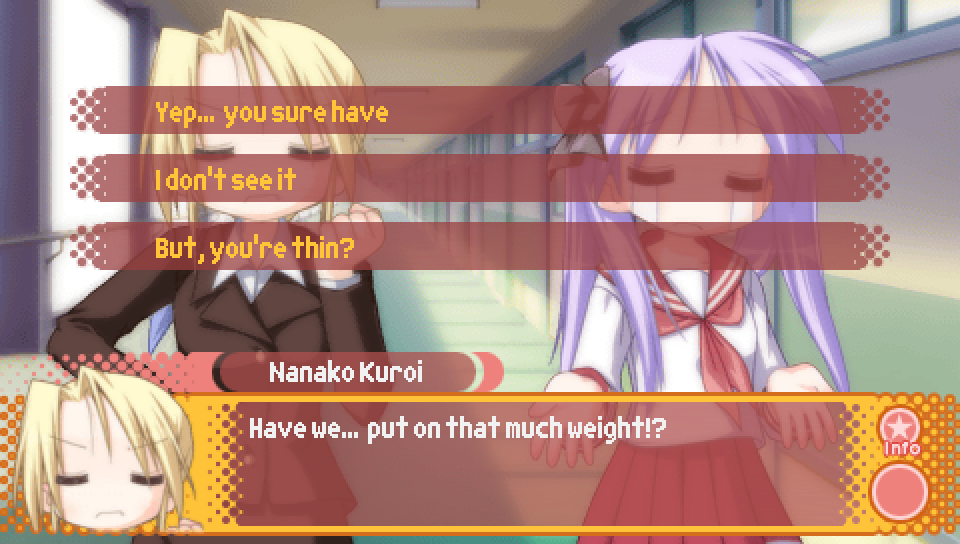
- Yep... you sure have -- no effect
- I don't see it -- no effect
- But, you're thin? -- clear points + 2
|
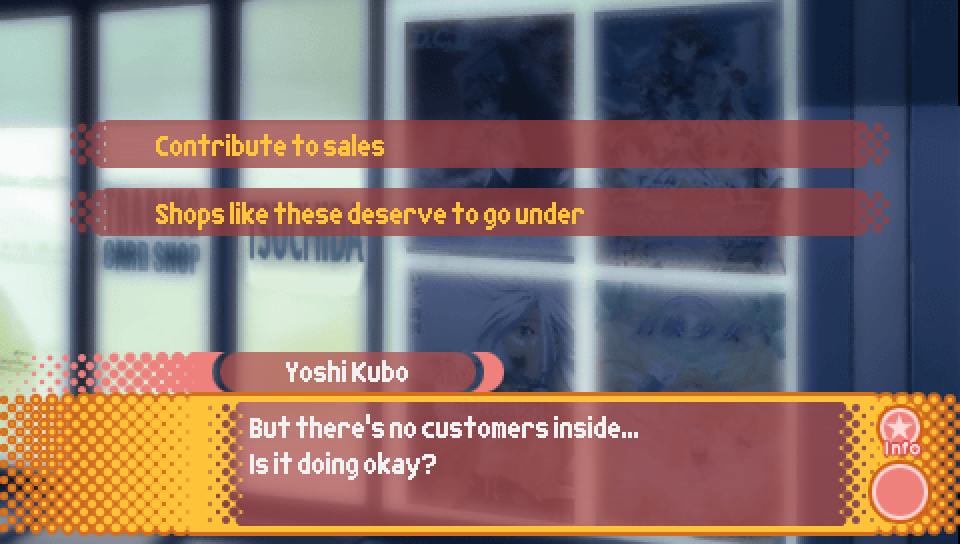
- Contribute to sales -- buy trading cards with the Episode 5 distribution
- Shops like these deserve to go under -- don't buy trading cards
Additionally, as a reminder, the trading card distribution for Episode 5
is that there is a 10.0% chance for cards 29-34 and a 1.2% chance for all other cards.
|
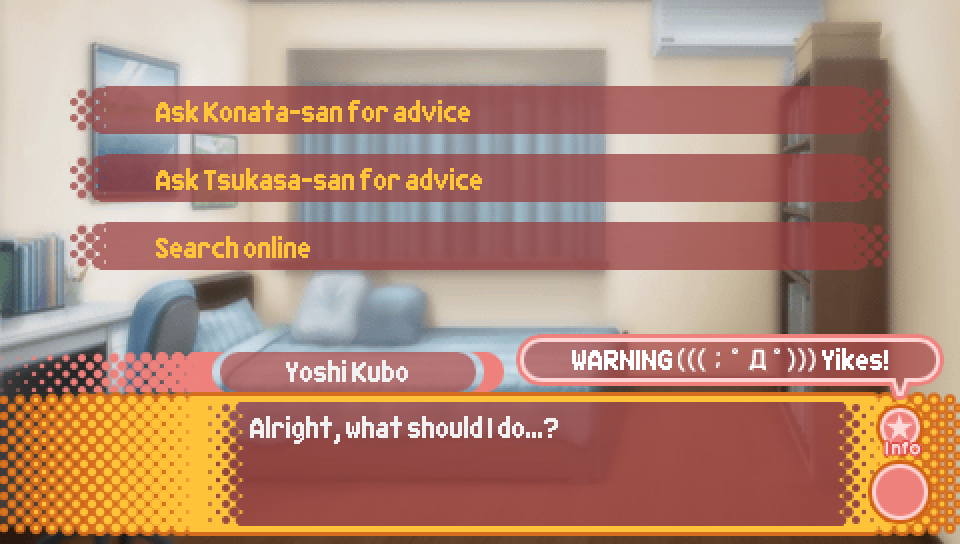
- Ask Konata-san for advice -- clear points + 4, learn dieting method A
- Ask Tsukasa-san for advice -- clear points + 2, learn dieting method B
- Search online -- clear points + 3, learn dieting method C
Depending on your choice here, the dieting method that the protagonist learns
and later reports to the others will differ. The points where this ends up changing
what happens will be pointed out as they occur.
|
It's at this point where the protagonist shares the dieting method he learned from the previous choice.
You also receive some favorability for one of the three girls depending on which dieting method he shares.
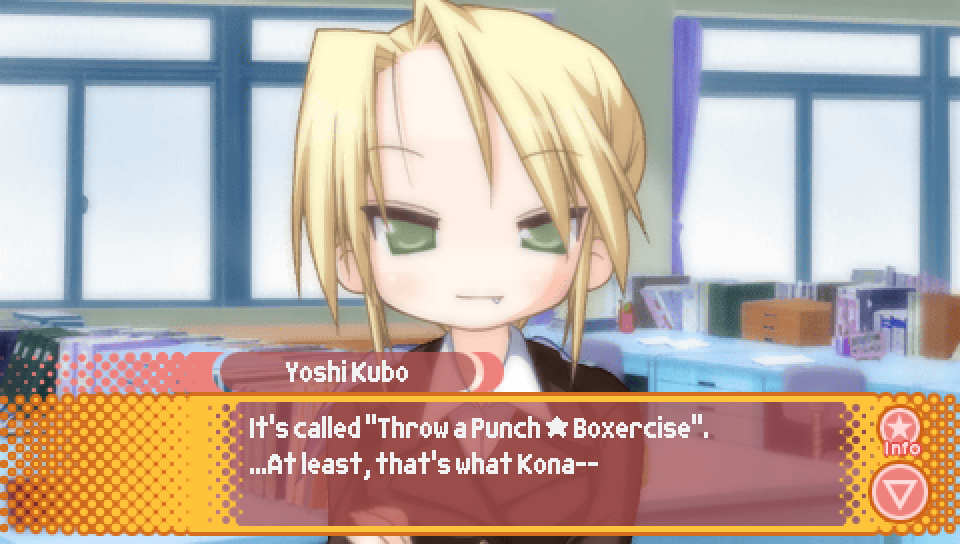
If you picked "Ask Konata-san for advice" in the previous choice, he will talk about boxercise.
You will also receive +2 Miyuki favorability.
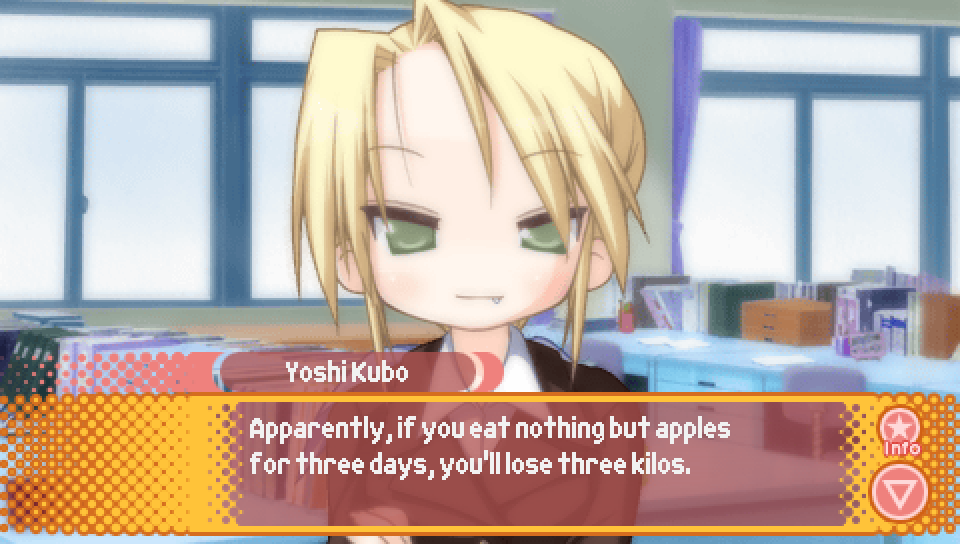
If you picked "Ask Tsukasa-san for advice" in the previous choice, he will talk about the "eat only one thing" diet.
You will also receive +2 Kagami favorability.
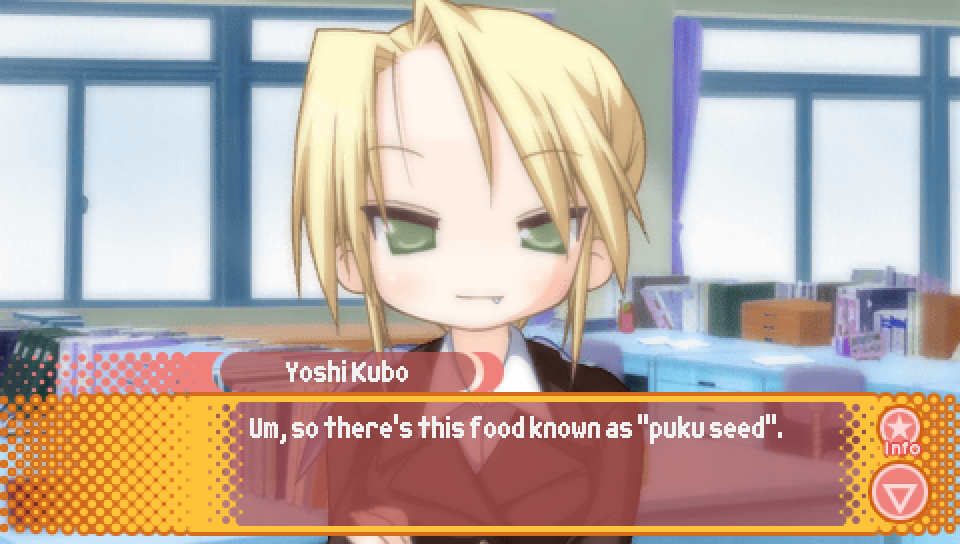
If you picked "Search online" in the previous choice, he will talk about puku seeds.
You will also receive +2 Nanako favorability.
|
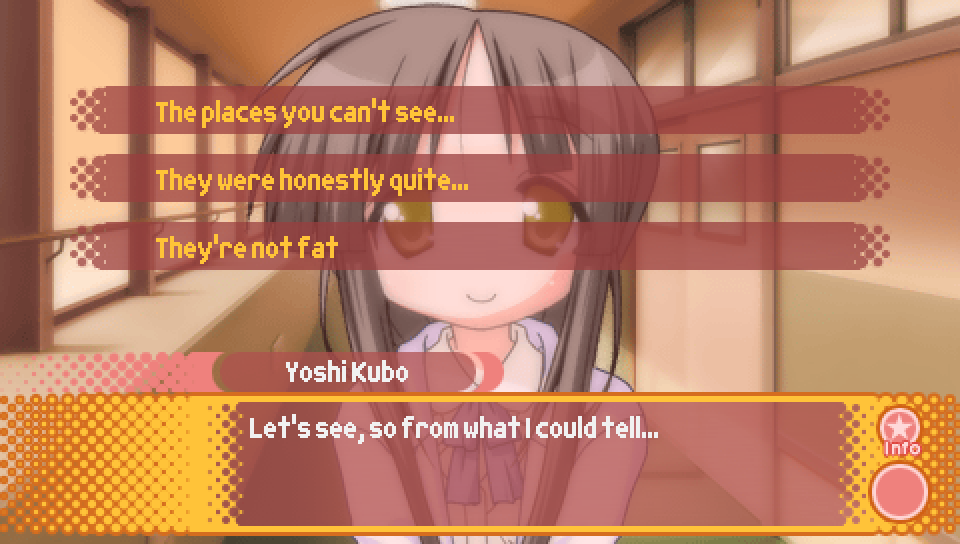
- The places you can't see... -- no effect
- They were honestly quite... -- no effect
- They're not fat -- clear points + 2
|
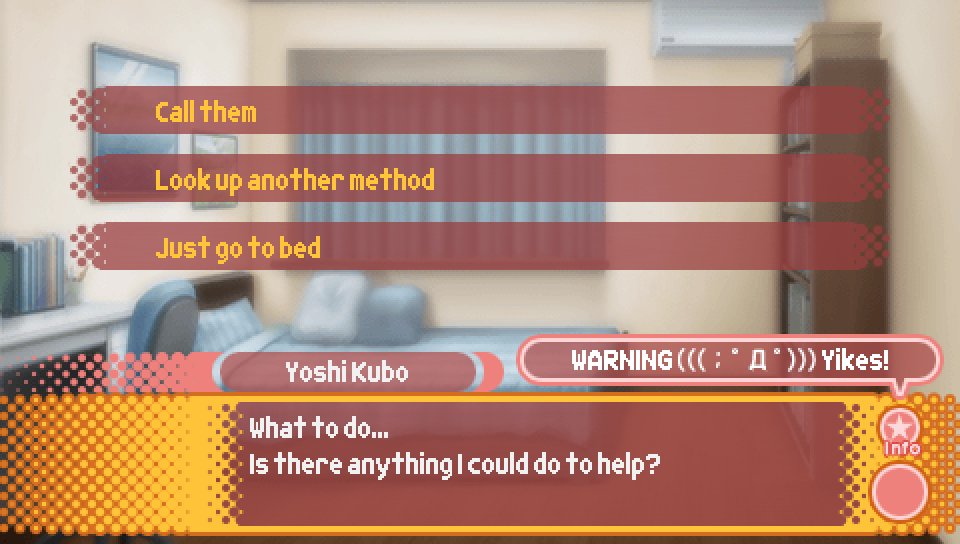
- Call them -- choose who to call
- Look up another method -- choose next dieting method, clear points + 4
- Just go to bed -- no effect
|
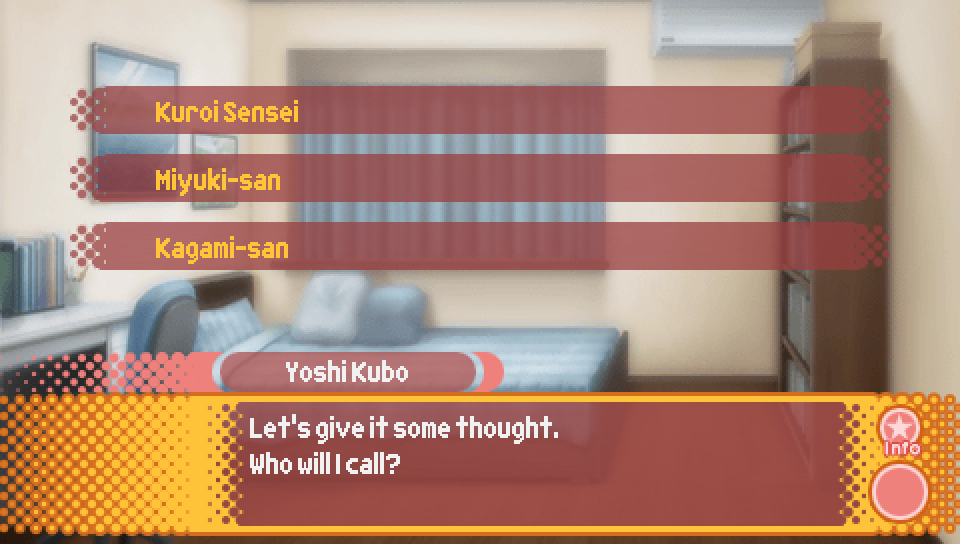
- Kuroi Sensei -- Nanako favorability + 4
- Miyuki-san -- Miyuki favorability + 4
- Kagami-san -- Kagami favorability + 4
Note that you will only see this choice if you pick "Call them" in the previous choice.
|
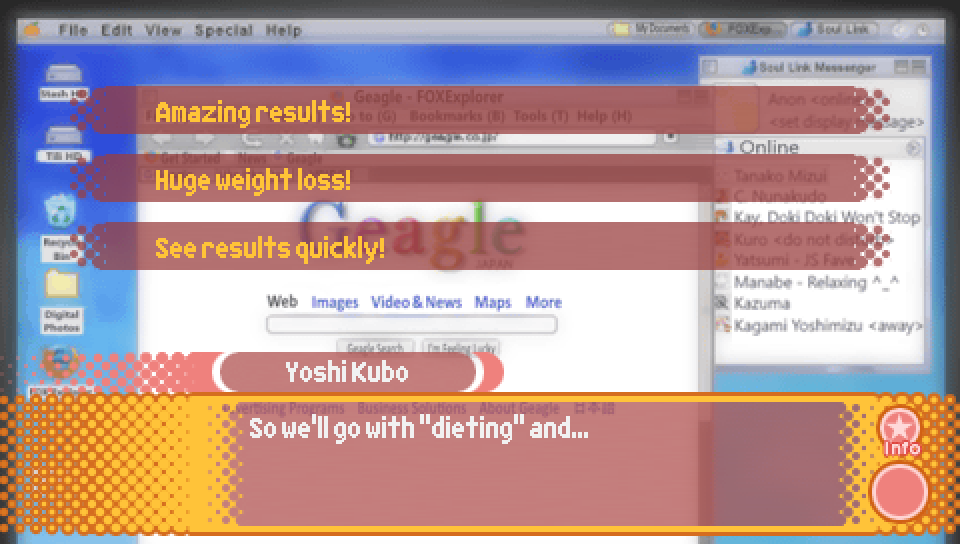
- Amazing results! -- learn dieting method D
- Huge weight loss! -- learn dieting method E
- See results quickly! -- learn dieting method F
Note that you will only see this choice if you pick "Look up another method" in the previous choice.
Depending on your choice here, the dieting method that the protagonist learns
and later reports to the others will differ. The points where this ends up changing
what happens will be pointed out as they occur.
|
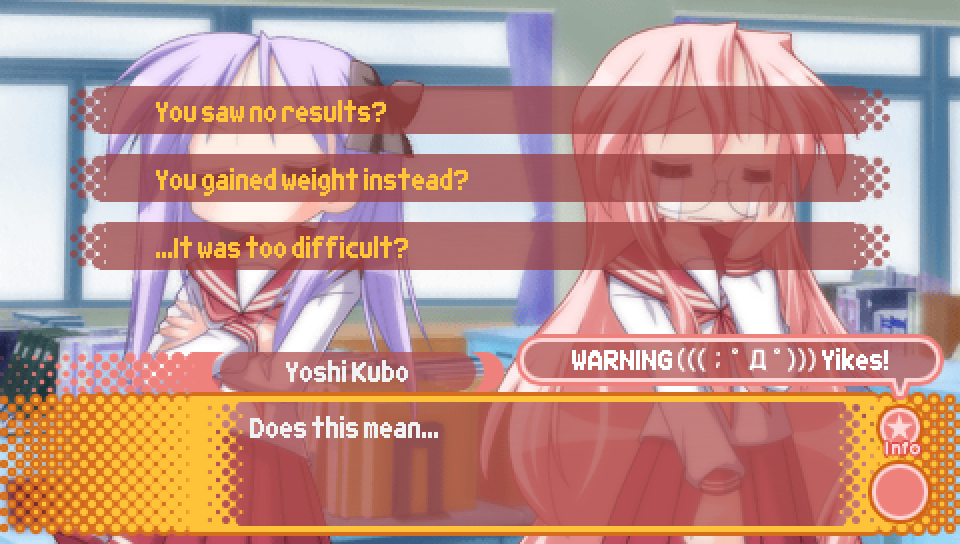
- You saw no results? -- no effect
- You gained weight instead? -- no effect
- ...It was too difficult? -- clear points + 3
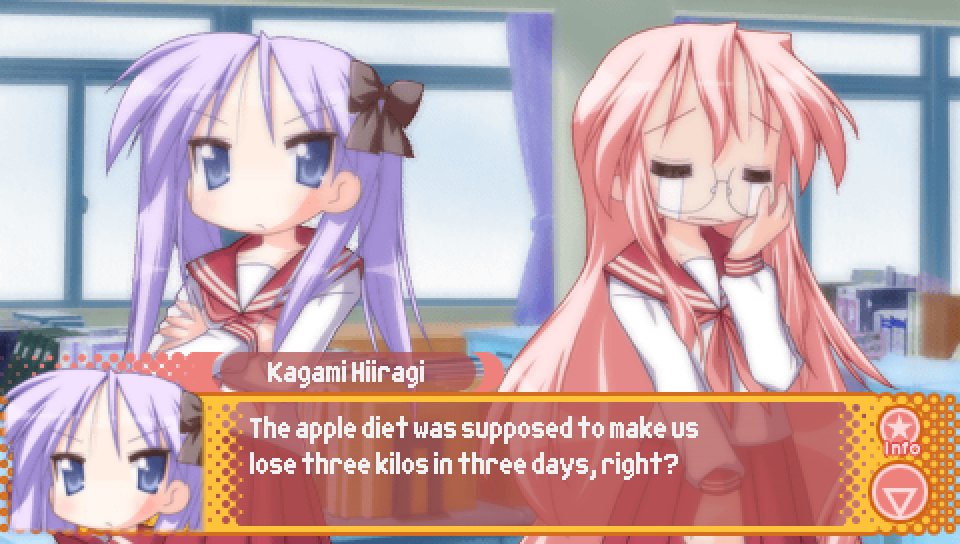
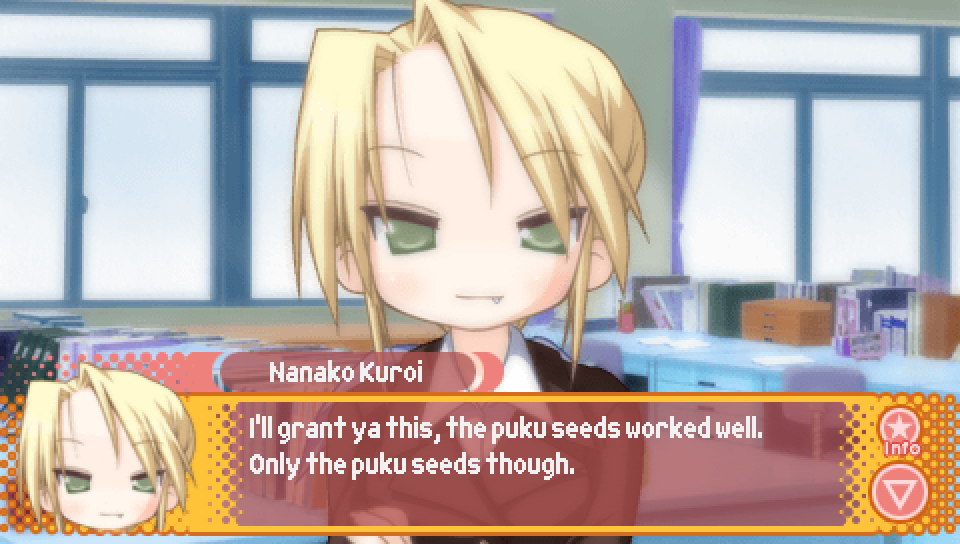
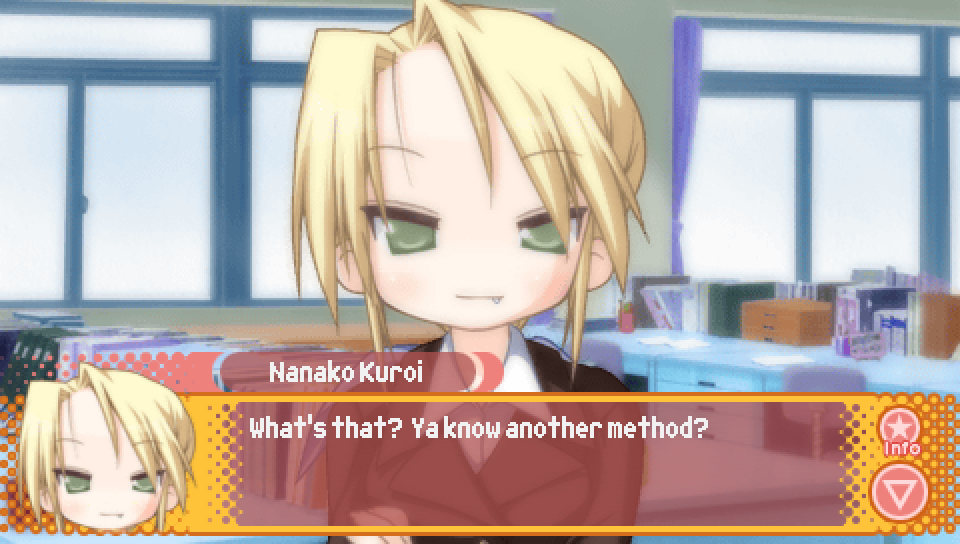
Additionally, if you picked "...It was too difficult", the girls will go into more detail about why the diet
was too difficult, which differs depending on which dieting method the protagonist suggested previously.
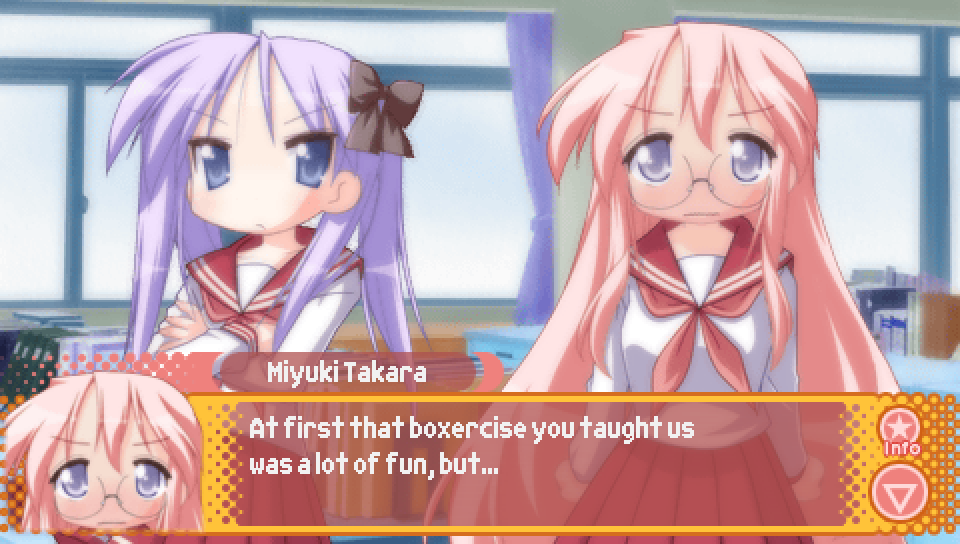
If the protagonist suggested dieting method A.
If the protagonist suggested dieting method B.
If the protagonist suggested dieting method C.
|
It's at this point where the protagonist will suggest a second dieting method. This depends on whether or not
the protagonist did research on another dieting method the night before, and if so, which dieting method he learned.
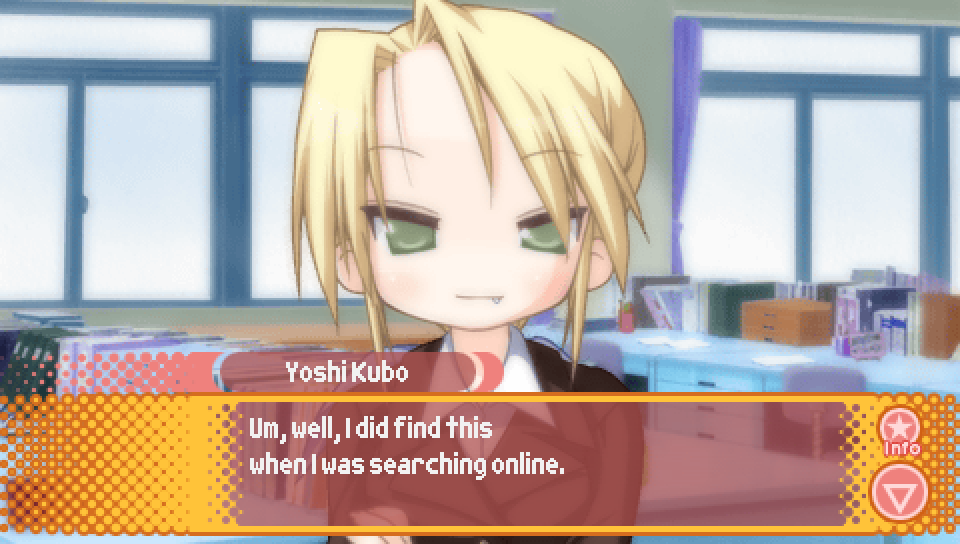
If the protagonist looked up a dieting method with "Amazing Results!" the night before,
he'll teach them about "Jack's Grappler Camp".
You will also gain +2 Nanako favorability.
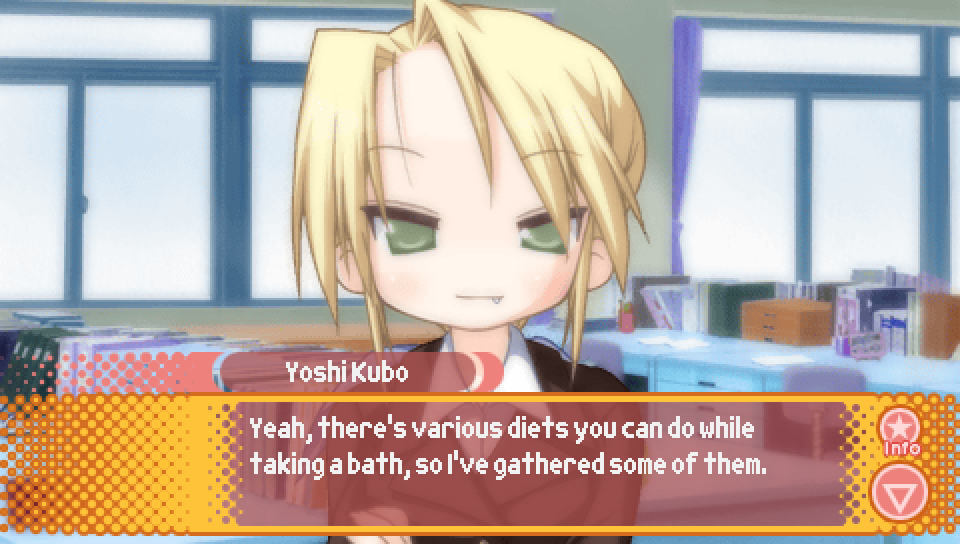
If the protagonist looked up a dieting method with "Huge weight loss!" the night before,
he'll show them various dieting methods related to bathing.
You will also gain +2 Miyuki favorability.
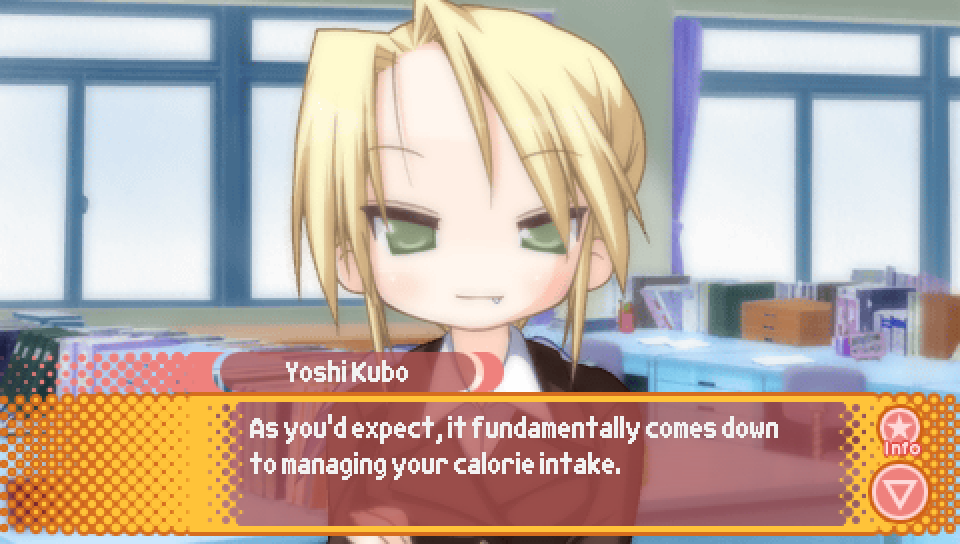
If the protagonist looked up a dieting method where you can "See results quickly!" the night before,
he'll show them various dieting methods involving placing dietary restrictions on yourself.
You will also gain +2 Kagami favorability.
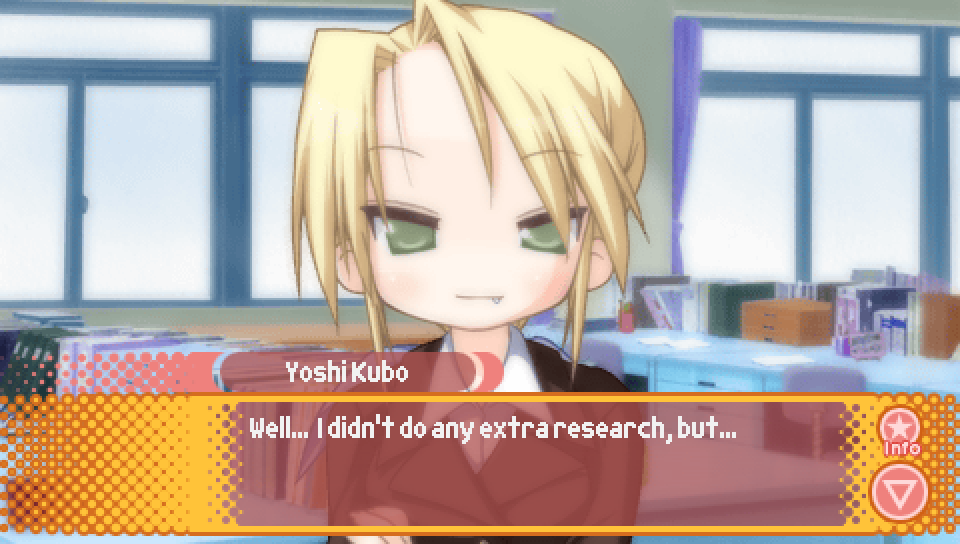
If the protagonist didn't do any further research on dieting the night before, he will suggest jogging.
No favorability is gained with any character with this outcome.
|
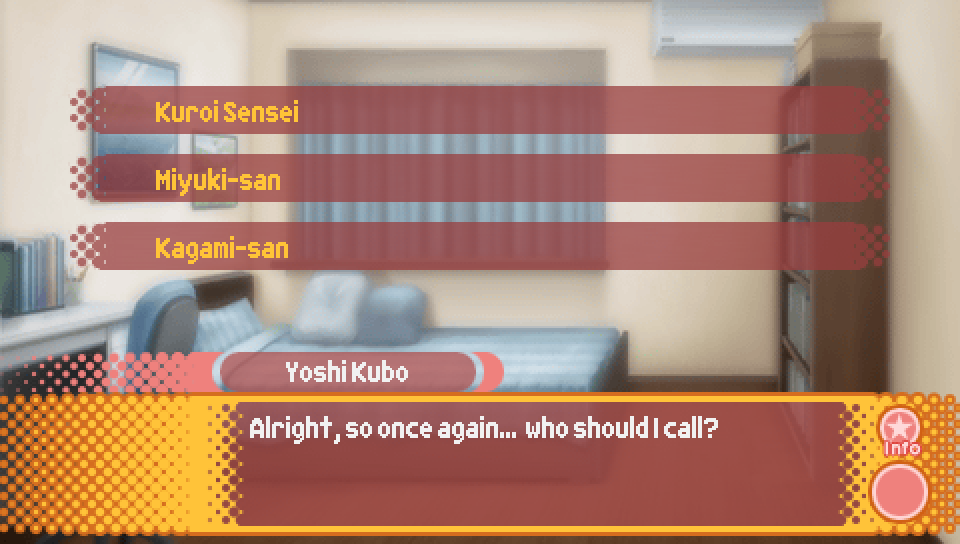
- Kuroi Sensei -- Nanako favorability + 3
- Miyuki-san -- Miyuki favorability + 3
- Kagami-san -- Kagami favorability + 3
|
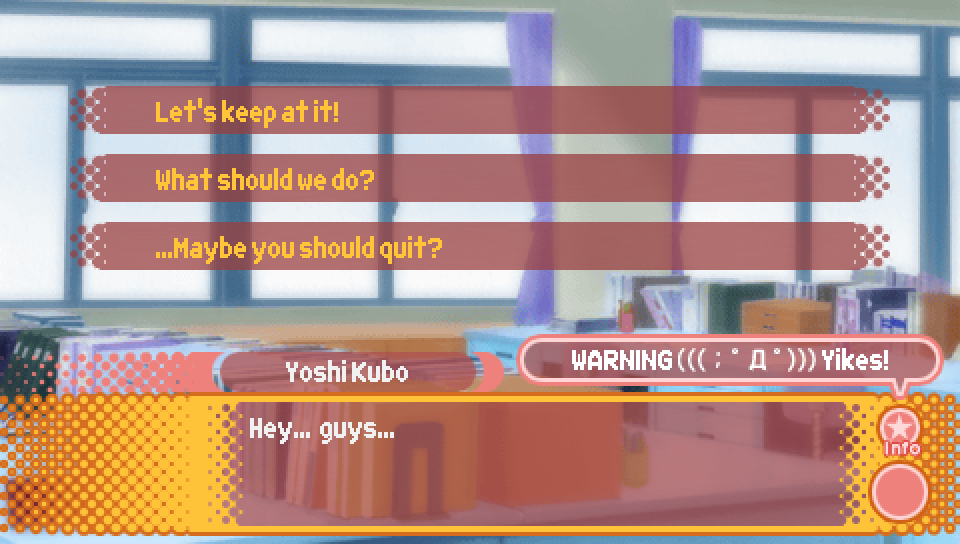
- Let's keep at it! -- clear points + 3
- What should we do? -- no effect
- ...Maybe you should quit? -- no effect
|
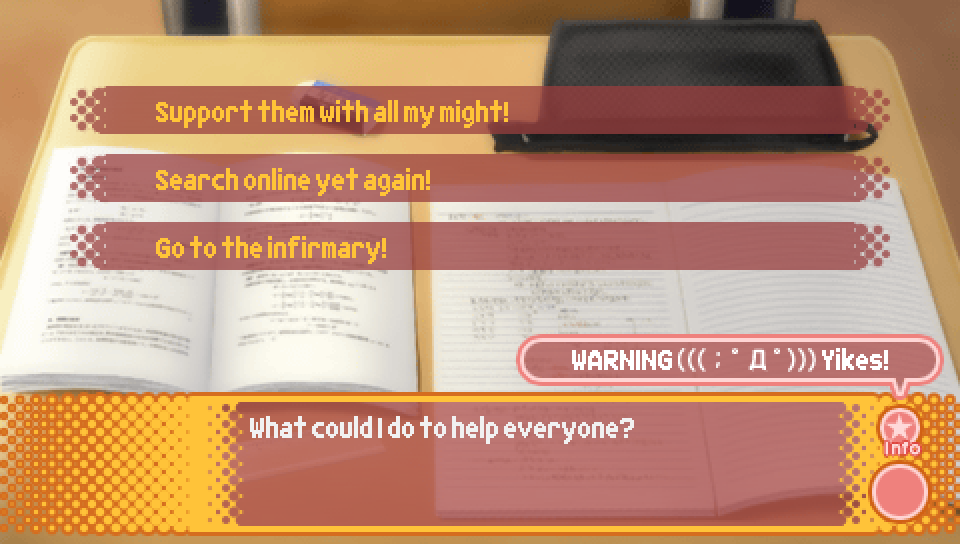
- Support them with all my might! -- pick which person to go support
- Search online yet again! -- no effect, made to pick one of the other choices
- Go to the infirmary! -- obtain mysterious pills from Fuyuki
The mysterious pills you can obtain from Fuyuki by picking "Go to the infirmary!"
can be used to set a flag which gives you an alternate ending scene provided you get
one of the character-specific good endings. More details on this will be given further down.
Additionally, if you pick "Search online yet again!", the protagonist will conclude that
he should consider one of the other options since he wouldn't be able to do any online research
until he gets home from school. You then are forced to pick one of the other options.
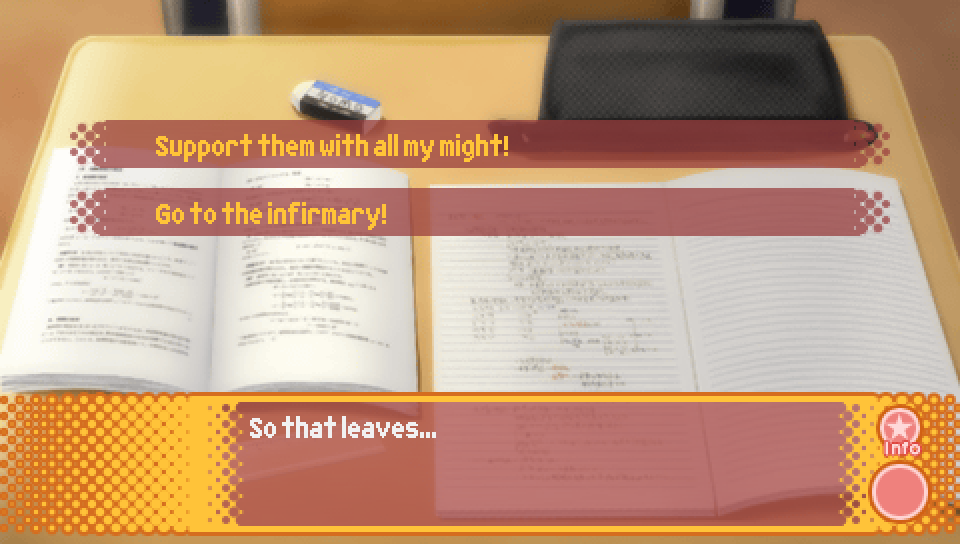
The game does consider these to be different choices in terms of highlighting already seen choices
with golden text, however, in terms of the dialogue that you see and what happens, there is no difference
between picking these choices immediately or after picking "Search online yet again!".
|
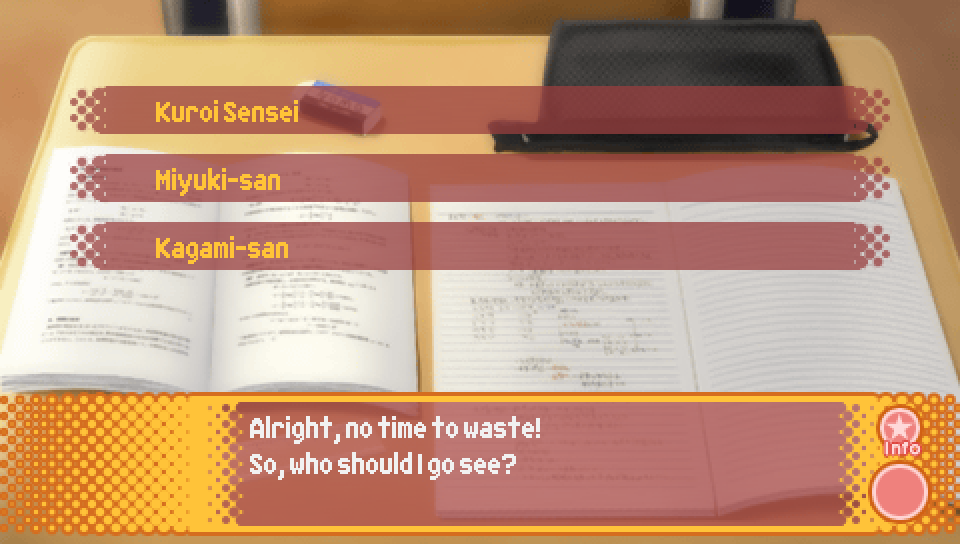
- Kuroi Sensei -- Nanako favorability + 4
- Miyuki-san -- Miyuki favorability + 4
- Kagami-san -- Kagami favorability + 4
Note that you will only see this choice if you picked "Support them with all my might!"
in the previous choice, whether that was immediately or after picking "Search online yet again!".
|
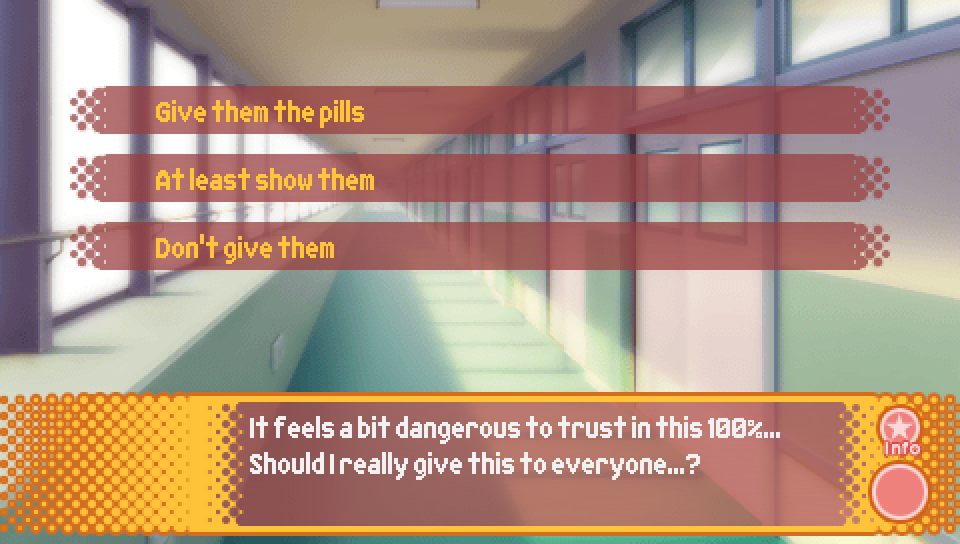
- Give them the pills -- clear points + 4, set alternate ending scene flag
- At least show them -- set alternate ending scene flag
- Don't give them -- no effect
Note that you will only see this choice if you picked "Go to the infirmary!"
in the previous choice, whether that was immediately or after picking "Search online yet again!".
Additionally, note that "Give them the pills" and "At least show them" will result in
Nanako, Miyuki, and Kagami taking Fuyuki's mysterious pills, which sets a flag that will
replace one of the character-specific good ending scenes with a different scene.
|
Girlish Body Restoration ★ Lucky Revo!! -- Ending Sequence |
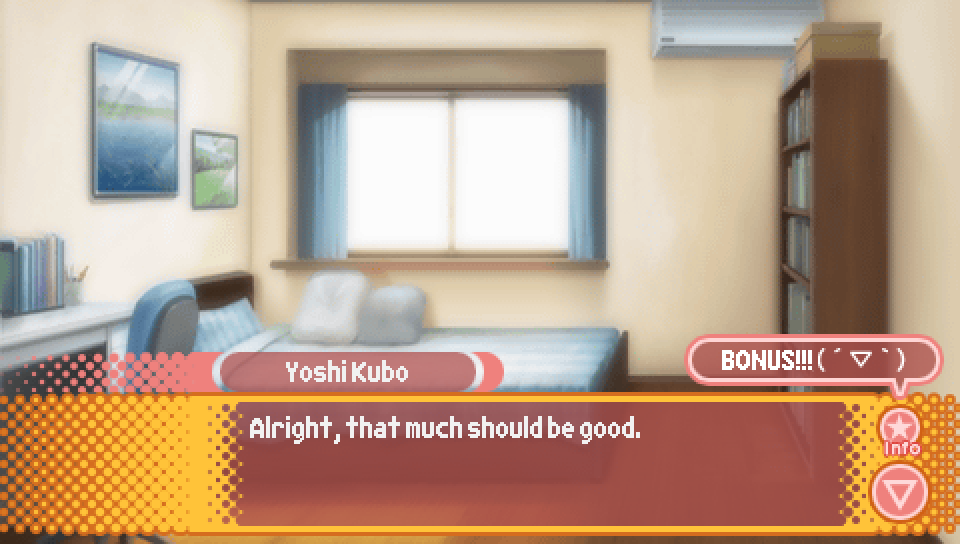
On the morning of the school festival, the protagonist will bring some extra money in order to be able
to buy things at the festival. This gives you 500 yen that you can spend on trading cards.
|
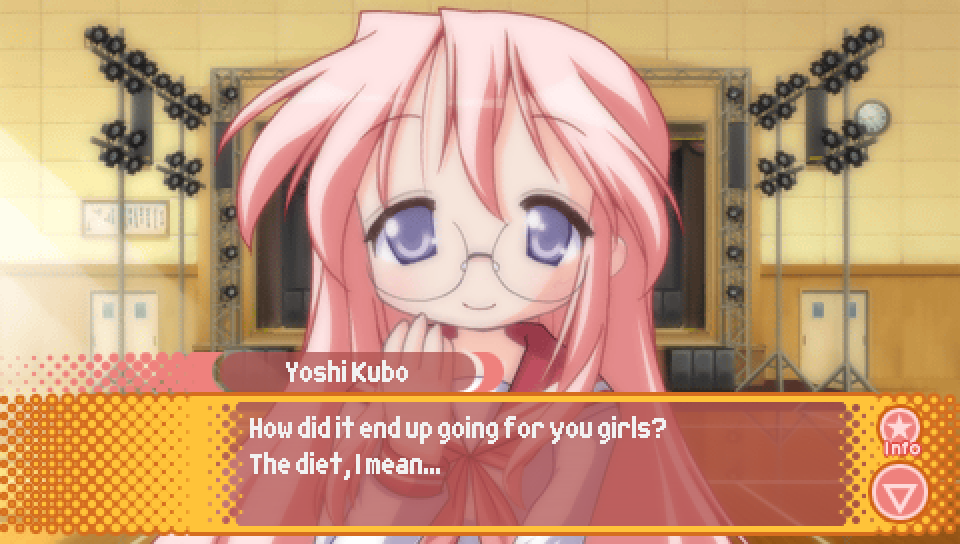
It's at this moment that it's determined which of the three categories of ending you will get,
which depends on the number of clear points you have accumulated up until this point during the route.
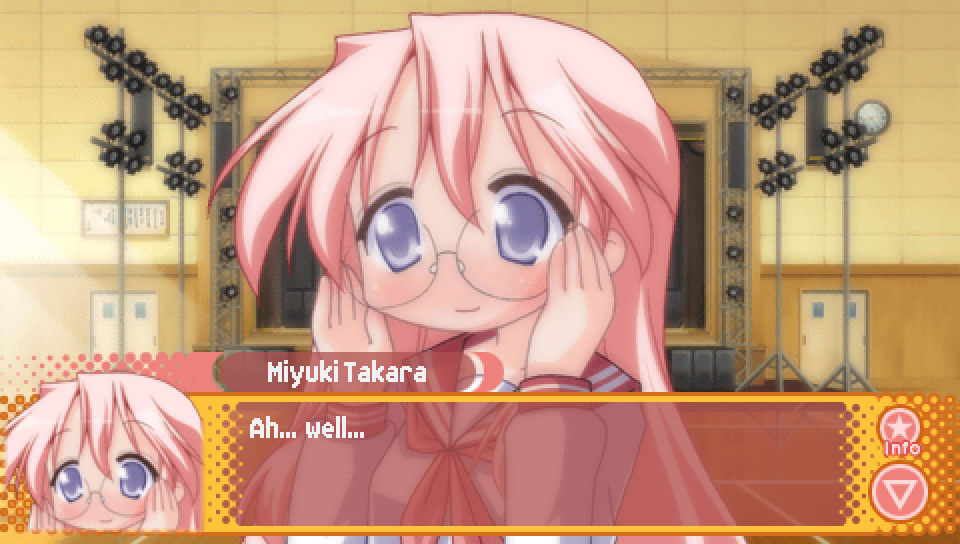
If you have less than 7 clear points, you will get the bad ending.
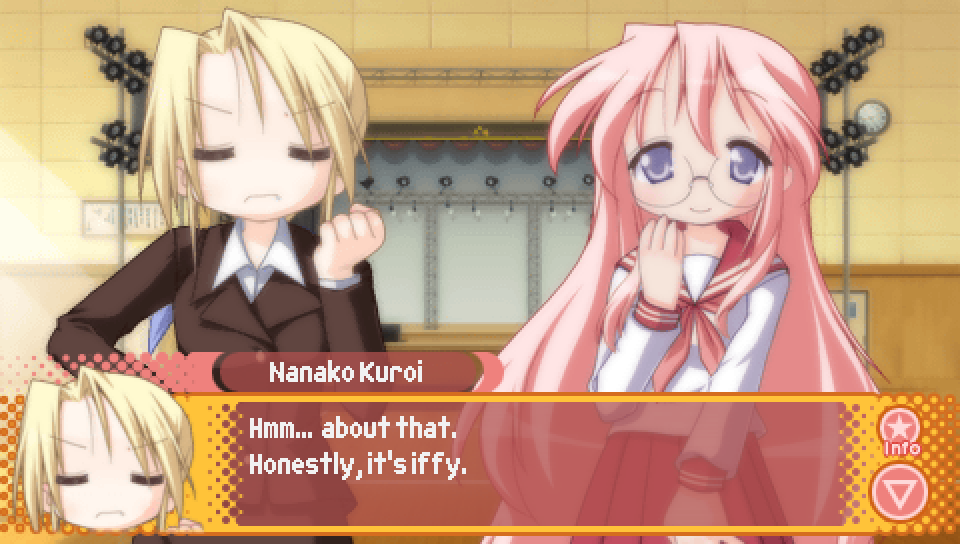
If you have anywhere between 7 and 11 clear points, you will get the neutral good ending.
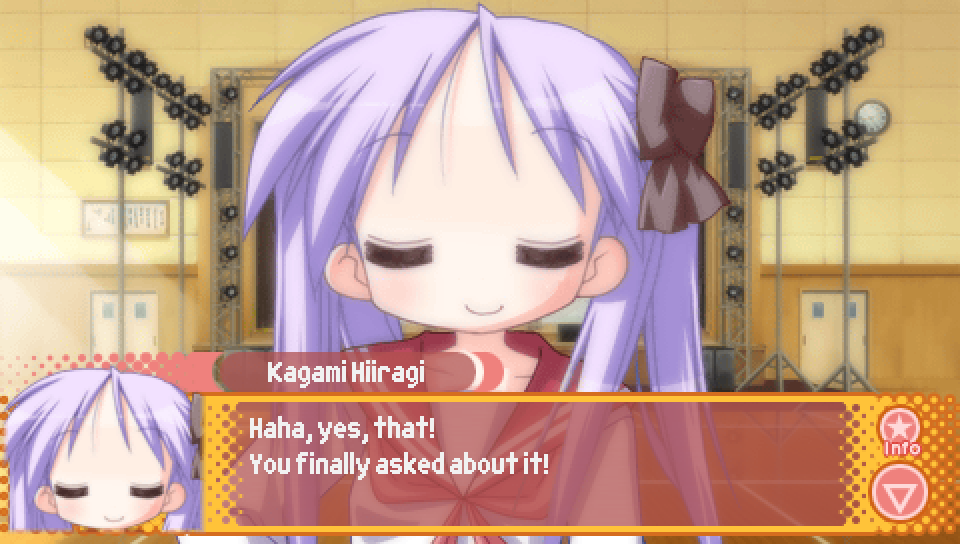
If you have 12 or more clear points, you will get one of the character-specific good endings.
There are three such endings you can get in this category, but which one you get is determined a bit later.
|
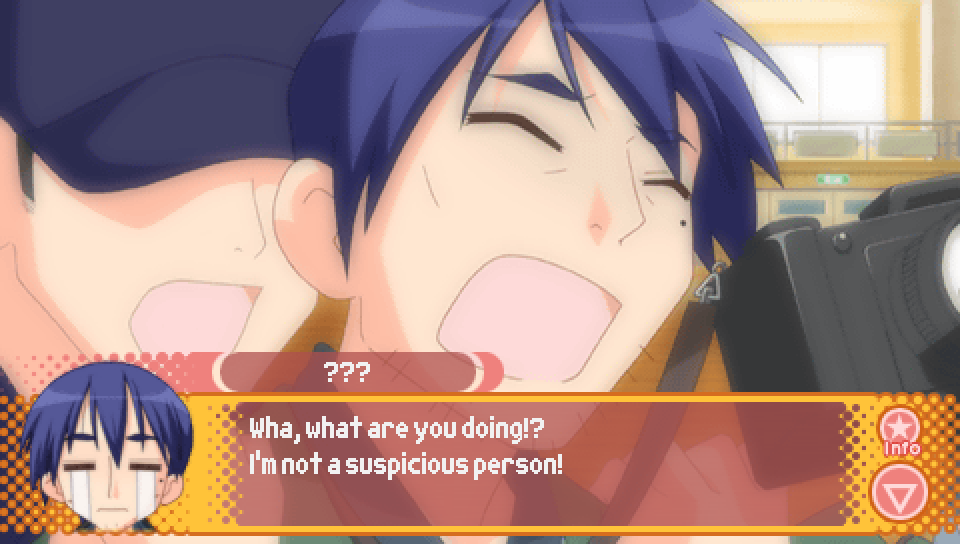
If you get any one of the character-specific good endings by having 12 or more clear points, you will see
the above scene in which Soujirou is dragged away by a staff member prior to the start of the beauty pageant.
Once you have viewed this scene, the Soujirou Mini Scenario will be unlocked.
|
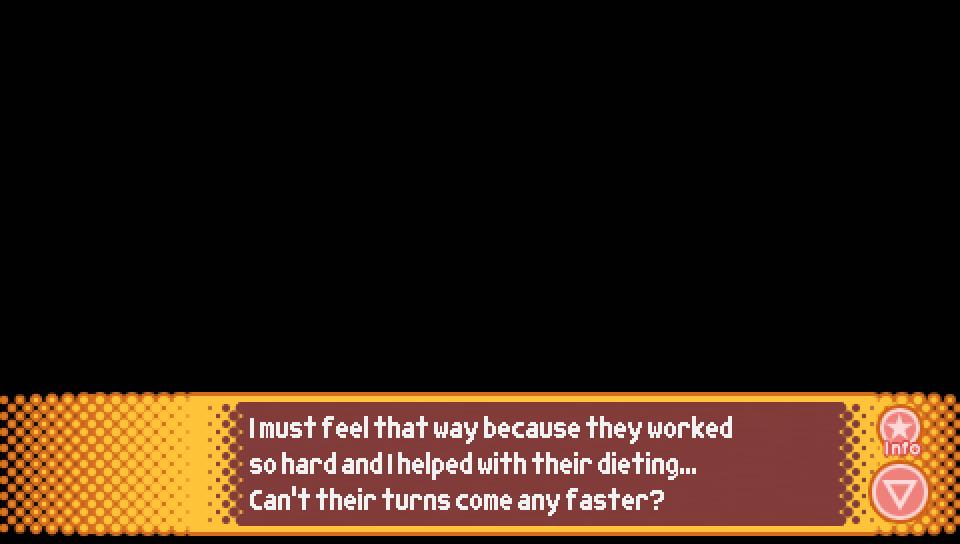
If you get any one of the character-specific good endings by having 12 or more clear points, it's at this point
where the specific ending you get is determined. Whoever you have the most favorability with out of Nanako, Miyuki
and Kagami will be the one who is given special focus during the beauty pageant, the one who ends up winning,
and is the one the protagonist will go and congratulate after the pageant is over.

If you have the most favorability with Nanako, she will be the one to win the beauty pageant.
You will also unlock the Nanako Mini Scenario upon finishing this ending.
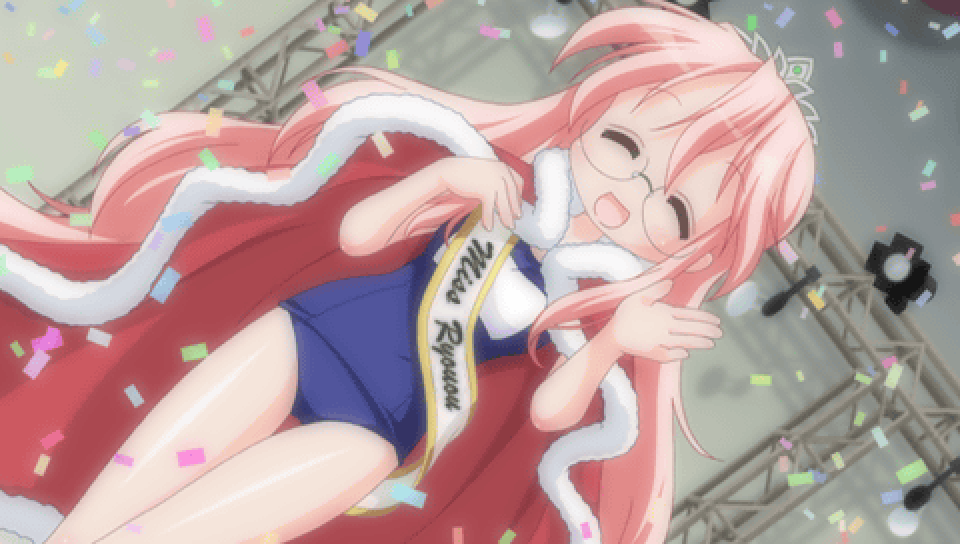
If you have the most favorability with Miyuki, she will be the one to win the beauty pageant.
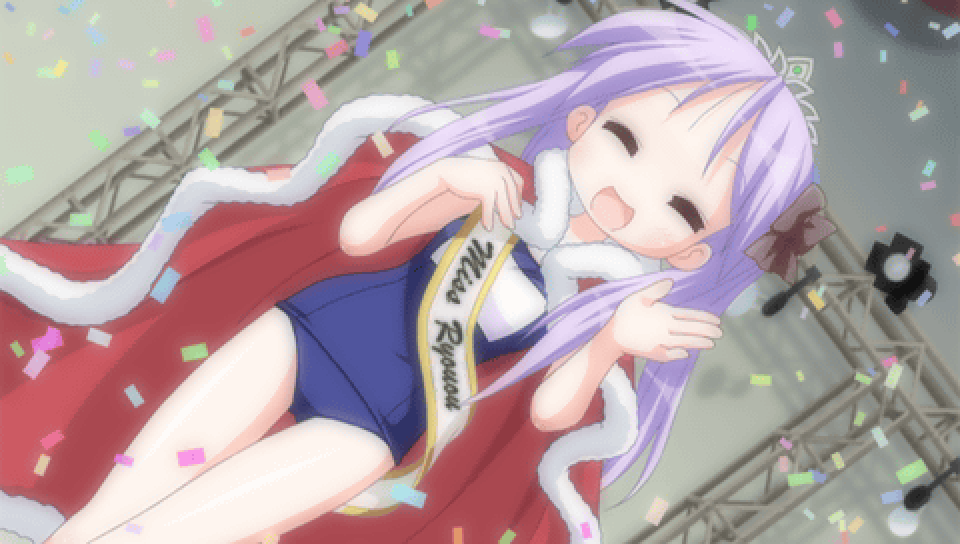
If you have the most favorability with Kagami, she will be the one to win the beauty pageant.
You will also unlock the Kagami Lucky Lucky Memorial Route upon finishing this ending when replaying
Lucky Lucky Memorial on the current save file.
Note that all three of these endings as well as the neutral good ending
are needed in order to get the gold star on your save file for this Episode.
|
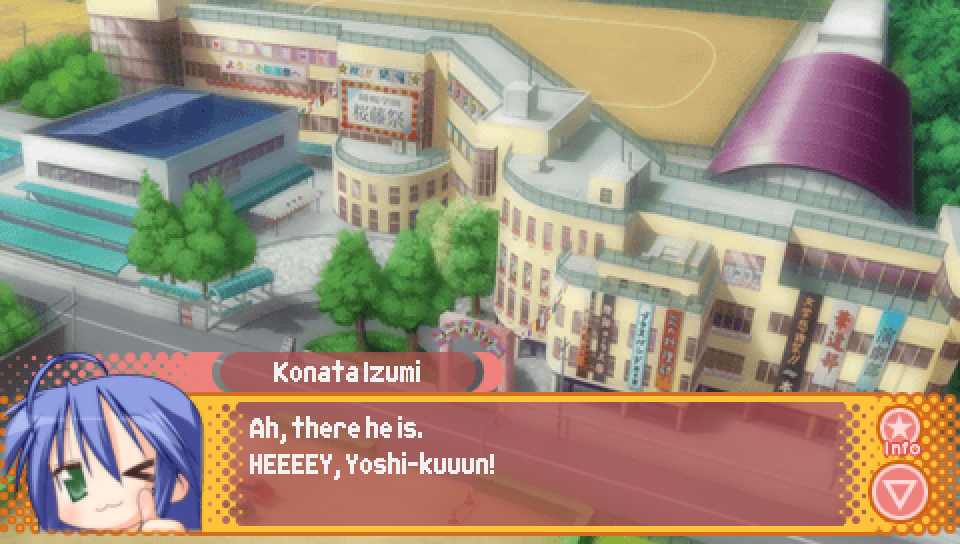
If you get any one of the character-specific good endings by having 12 or more clear points,
after the protagonist goes to congratulate the winner of the beauty pageant, there are two
possible ending scenes you can get afterwards. The first, as seen above, is if you didn't
set the flag associated with giving Nanako, Miyuki, and Kagami the mysterious pills from Fuyuki.
In that case, Konata and Tsukasa will approach the protagonist and talk to him, and their conversation
will be the final scene before time loops back around.
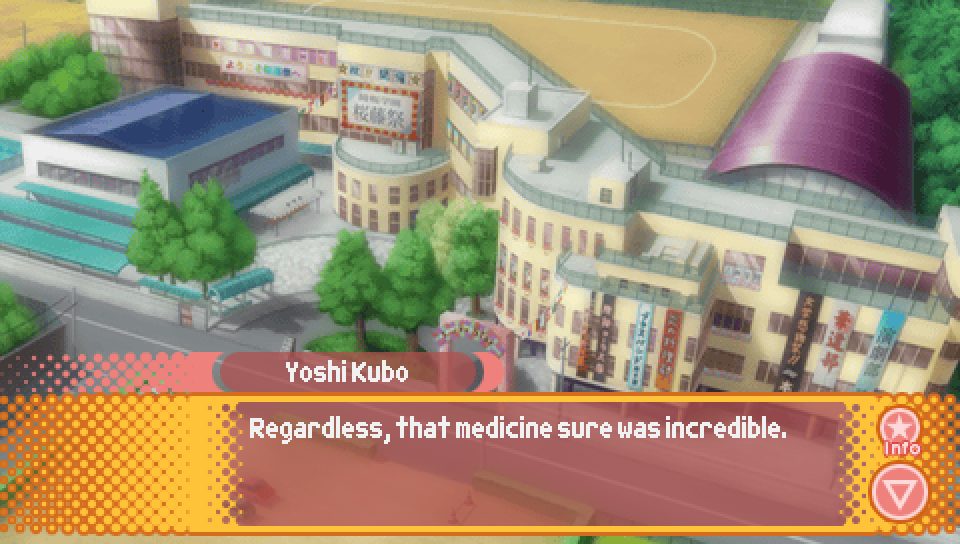
However, if you did give Nanako, Miyuki, and Kagami the mysterious pills from Fuyuki,
the protagonist will instead decide to go to the infirmary to thank Fuyuki for her help,
resulting in a different final scene before time loops back around.
|
Route Guide -- Lucky Lucky Memorial (Episode 5 Routes) |
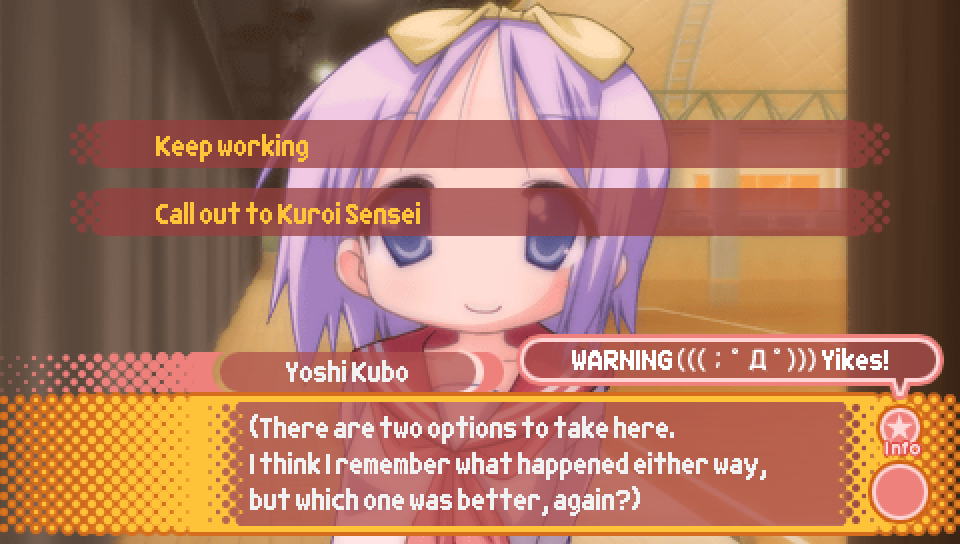
Once you have met the necessary criteria (described above), you can play through Kagami's
Lucky Lucky Memorial route on future loops on that save file. This is done by replaying Episode 1
and making the correct choices to get Kagami's favorability to be the highest before the start of the
third day, which will be described below.
But for now, when you get to this choice, pick "Keep Working" to replay Episode 1.
|
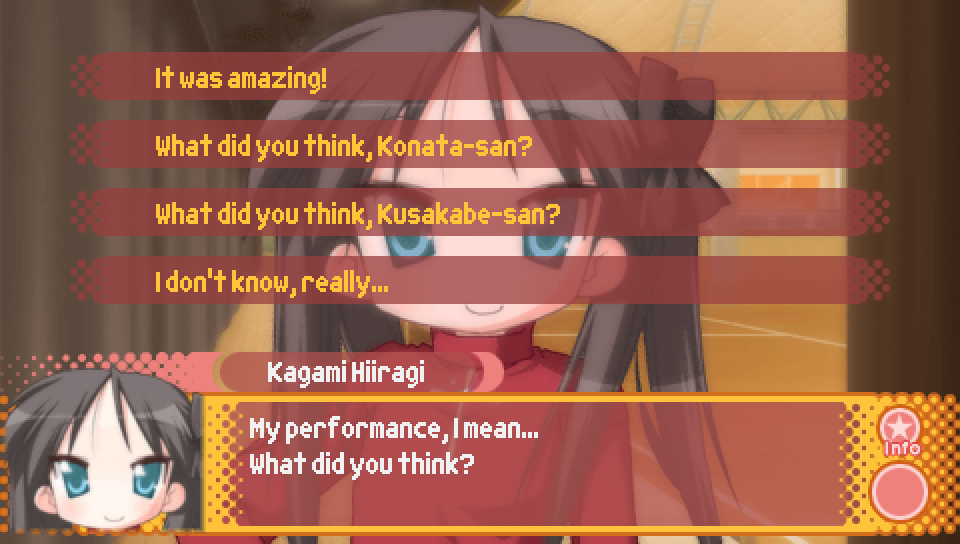
- It was amazing! -- Kagami favorability + 2
- What did you think, Konata-san? -- Konata favorability + 2
- What did you think, Kusakabe-san? -- Misao favorability + 2
- I don't know, really... -- no effect
If you're aiming for Kagami's route, you'll want to pick "It was amazing!".
Note that this choice will only appear if you've unlocked Kagami's route.
Note that the choice "What did you think, Kusakabe-san?" only appears if you have unlocked Misao's route.
|
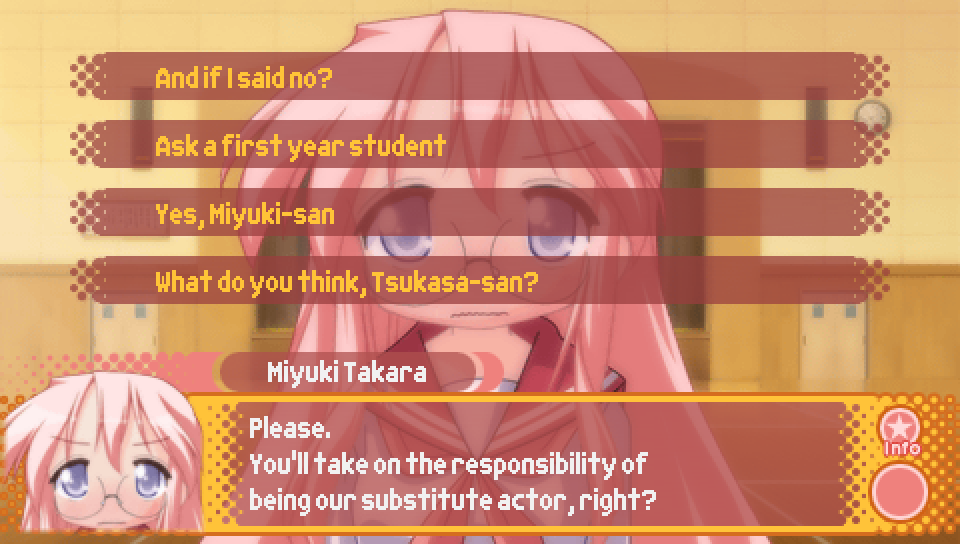
- And if I said no? -- no effect
- Ask a first year student -- go to choice of first year student to ask
- Yes, Miyuki-san -- Miyuki favorability + 2
- What do you think, Tsukasa-san? -- Tsukasa favorability + 2
If you're aiming for Kagami's route, you'll want to pick "And if I said no?"
so you don't raise anyone's favorability.
Note that the choice "Ask a first year student" will only appear if one of the first year students' routes is unlocked.
|
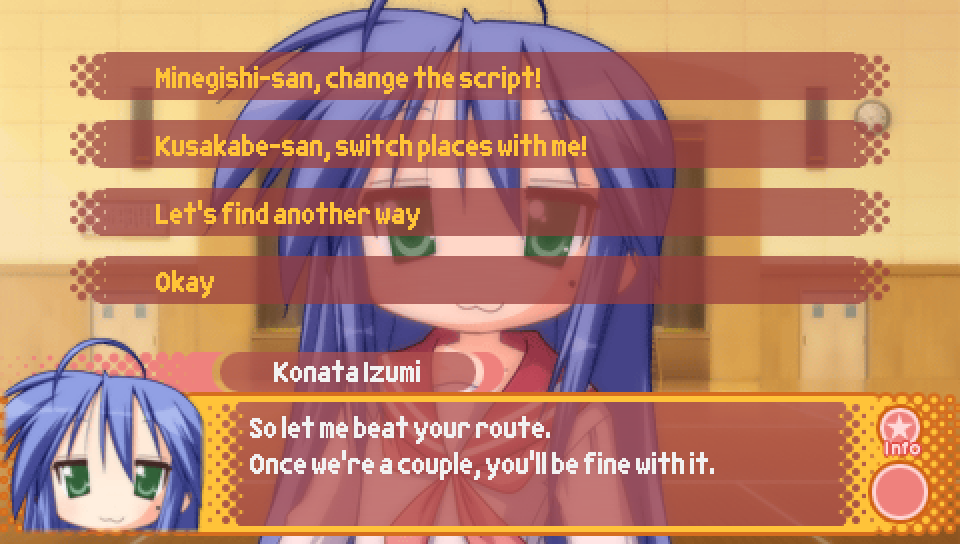
- Minegishi-san, change the script! -- Ayano favorability + 2
- Kusakabe-san, switch places with me! -- Misao favorability + 2
- Let's find another way -- no effect
- Okay -- Konata favorability + 2
If you're aiming for Kagami's route, you'll want to pick "Let's find another way"
so you don't raise anyone's favorability.
Note that "Minegishi-san, change the script!" will only appear if Ayano's
Lucky Lucky Memorial route has been unlocked.
Note that "Kusakabe-san, switch places with me!" will only appear if Misao's
Lucky Lucky Memorial route has been unlocked.
|
It's at this moment that the route you get is decided.
For whoever has the most favorability, you'll end up on that character's route and you'll be given
+4 favorability for that character. So that's +4 Kagami favorability in the Kagami route.
In the case of a tie, the order of priority is
Konata > Kagami > Tsukasa > Miyuki > Misao > Ayano > Yutaka > Minami > Hiyori > Patty
|
Route Guide -- Lucky Lucky Memorial (Kagami Route) |
Before the protagonist leaves his house to go to school on the first morning
of this route, he'll take some extra money to buy food.
This will add 2000 yen to your total amont of money, which you can spend on trading cards.
|
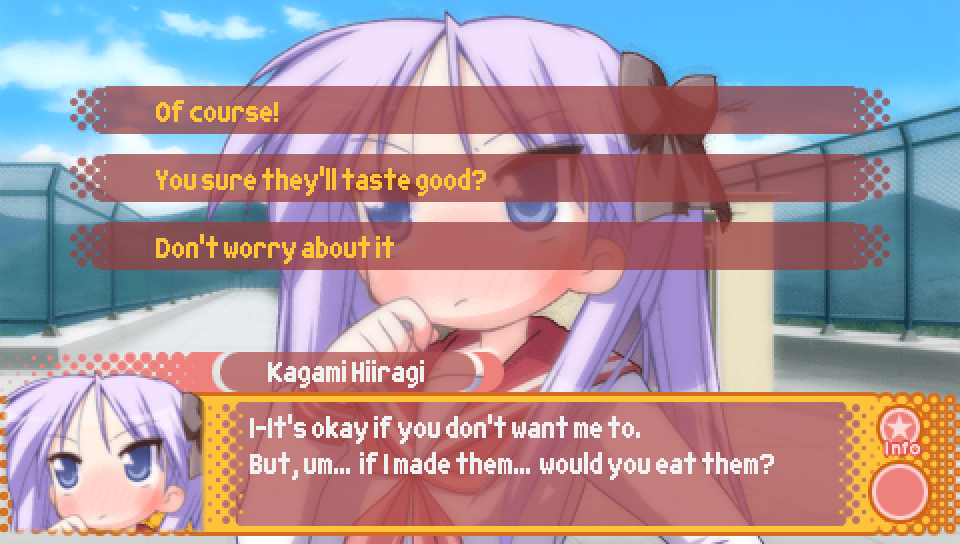
- Of course! -- Kagami favorability + 2
- You sure they'll taste good? -- no effect
- Don't worry about it - no effect
|
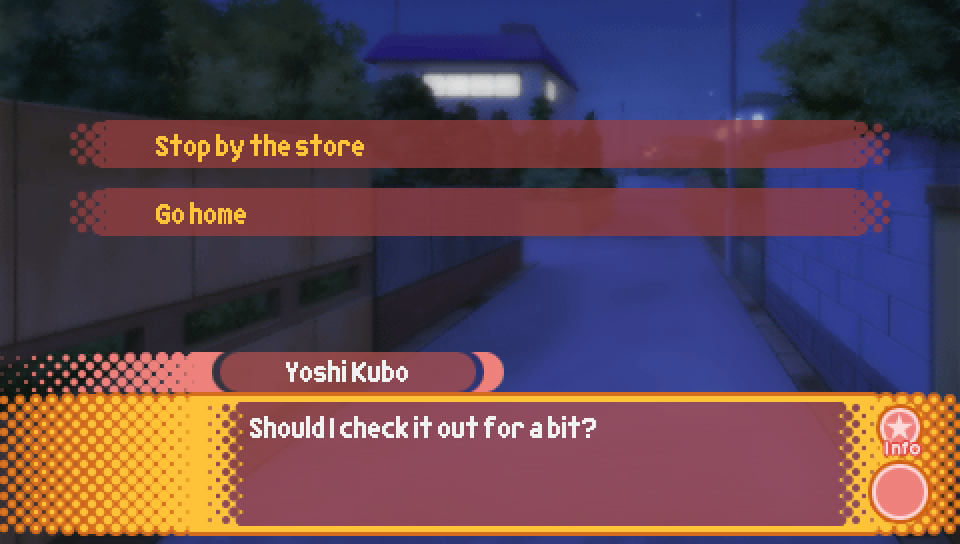
- Stop by the store -- buy trading cards with the Episode 1 distribution
- Go home -- don't buy trading cards
Note that this choice will only appear if you've been to this trading card shop before.
|
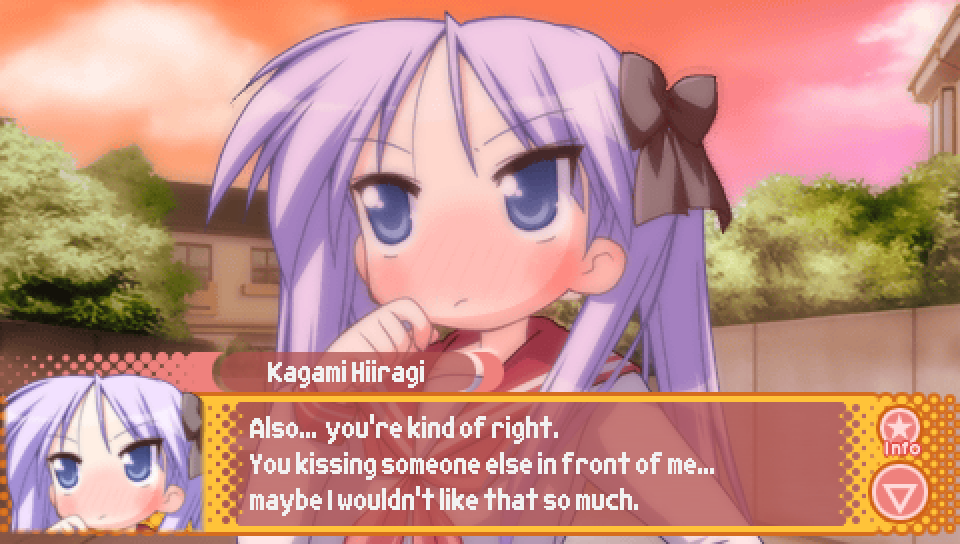
This scene after Konata gets mad at the protagonist and storms out of
play practice contains the first check you have to pass to get the good ending.
To pass the check, you need at least 8 favorability points with Kagami.
If you pass the check, you will see the above line and the following interaction
where Kagami says that she wouldn't like the protagonist kissing Konata in front of her.
If you fail the check, the scene will play out a bit differently.
|
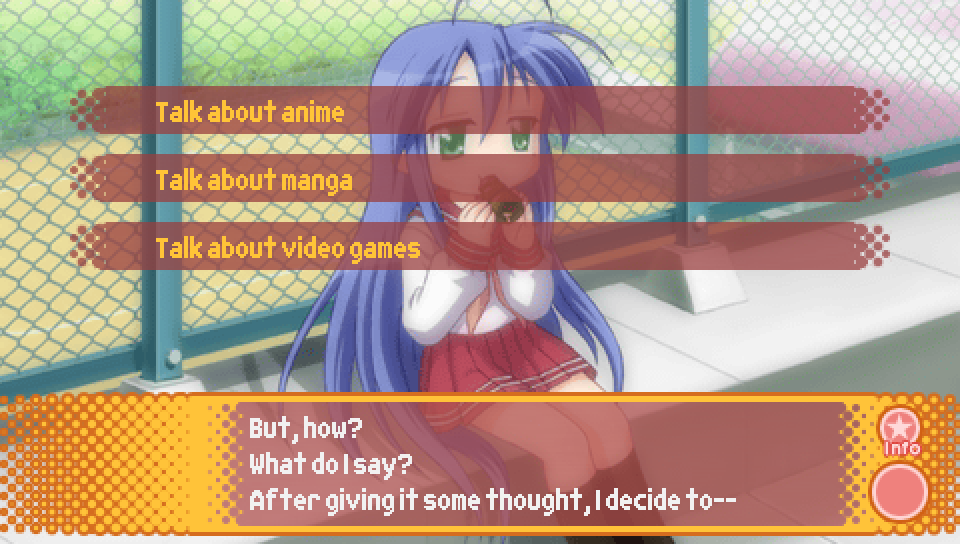
- Talk about anime -- Konata favorability + 2
- Talk about manga -- no effect
- Talk about video games -- no effect
|
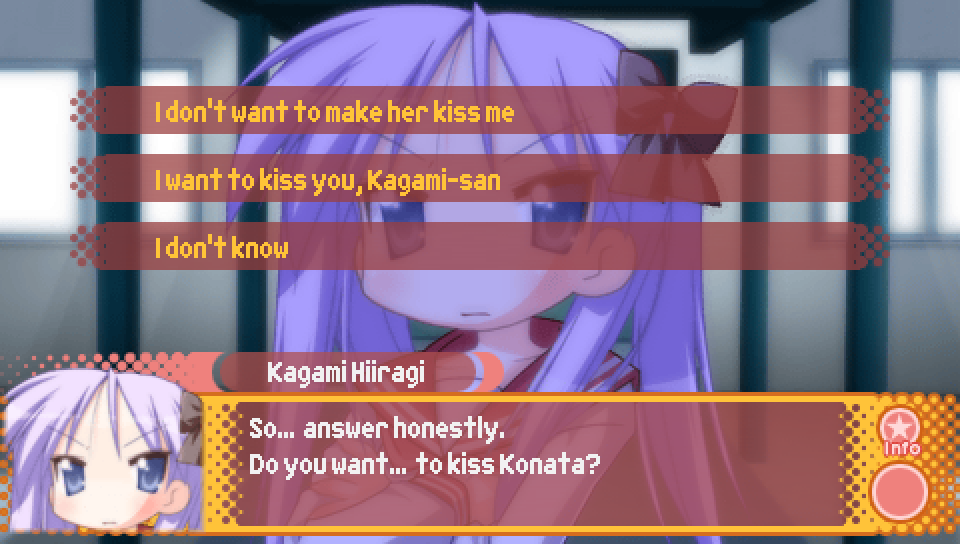
- I don't want to make her kiss me -- no effect
- I want to kiss you, Kagami-san -- Kagami favorability + 2
- I don't know -- no effect
|
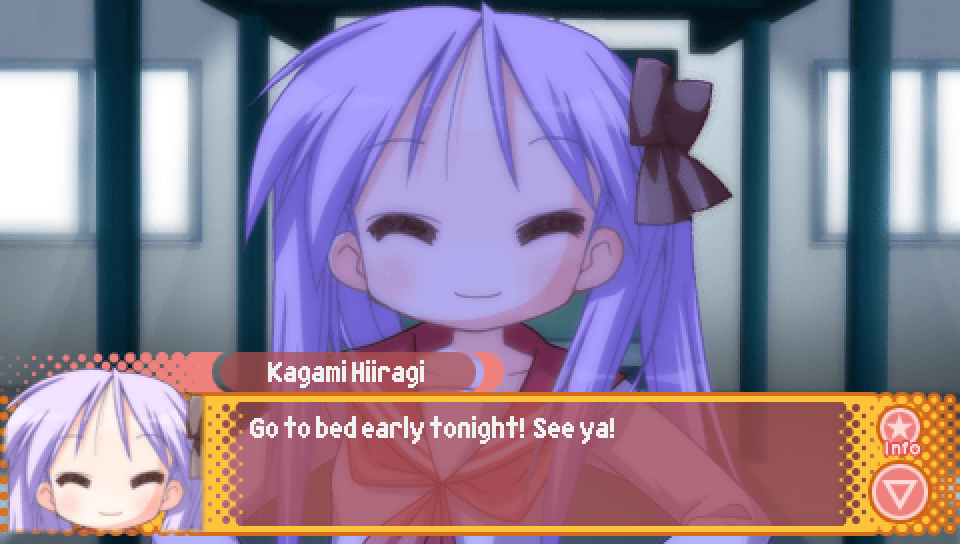
This moment near the end of the scene with Kagami on the night before the school festival
contains the second and final check you have to pass to get the good ending.
To pass the check, you need at least 10 favorability points with Kagami and to have passed the previous check.
If you pass the check, Kagami will ask the protagonist if he has any plans after the play tomorrow.
If you fail the check, the scene will play out a bit differently and you'll get the Lucky Lucky Memorial bad ending.
|
|